U Can Too Blog

Talking Tech

micro:bit and MakeyMakey Escape Room

micro:bit and MakeyMakey Escape Room

Recently we have enjoyed developing a set of teaching resources to enable Takween HDI in Saudi Arabia to deliver a week-long workshop teaching children to build their own Minecraft-themed escape rooms using both the micro:bit and MakeyMakey. We have wanted to design an escape room for a while so we were super excited to put this workshop together for them! 

A lot of planning has to go into developing an escape room because each interaction has to be linked to the previous one and often also triggers the next interaction. At least one micro:bit was used in each interaction, this is an ideal piece of tech to use because it can be used to program servo motors to unlock doors, light-up LEDs, allow inputs from buttons, light, sound and movement and communicate with other interactions using radio. Additional technology we used within this project were:

  • Cutebots (a low-cost micro:bit powered robot; one disguised as a minecart and one taking the form of an Ender Dragon!)
  • MakeyMakey Code-a-Key Backpack (an add-on to enable you to combine the functionality of a MakeyMakey with a micro:bit)

Escape Room Images from Takween using micro:bit and MakeyMakey

Planning the Story

If you’ve ever visited an escape room you will know that there is usually a story behind the room which evolves and progresses with each challenge. For this story our brief was that it needed to be Minecraft-themed and involve two rooms. We designed an initial challenge which involved entering a code into a micro:bit attached to a chest. The numerical code is entered using the buttons and once the correct code is entered the chest unlocks. This was a starting point for both rooms and contained items required to complete the next challenges. The two rooms we came up with were:

  • Room 1 - Journey to the Nether
  • Room 2 - Defeat the Ender Dragon

Journey to the Nether

In this room the main goals are to complete a series of mini-challenges to release diamonds to craft a diamond pickaxe, using this players can then mine obsidian and complete a Nether Portal. These challenges involve rolling a ball through a trial-chamber themed maze, releasing a minecart and using location clues and a micro:bit compass. Once each of the diamonds are placed on a  crafting table a circuit is completed and a diamond pickaxe is released.

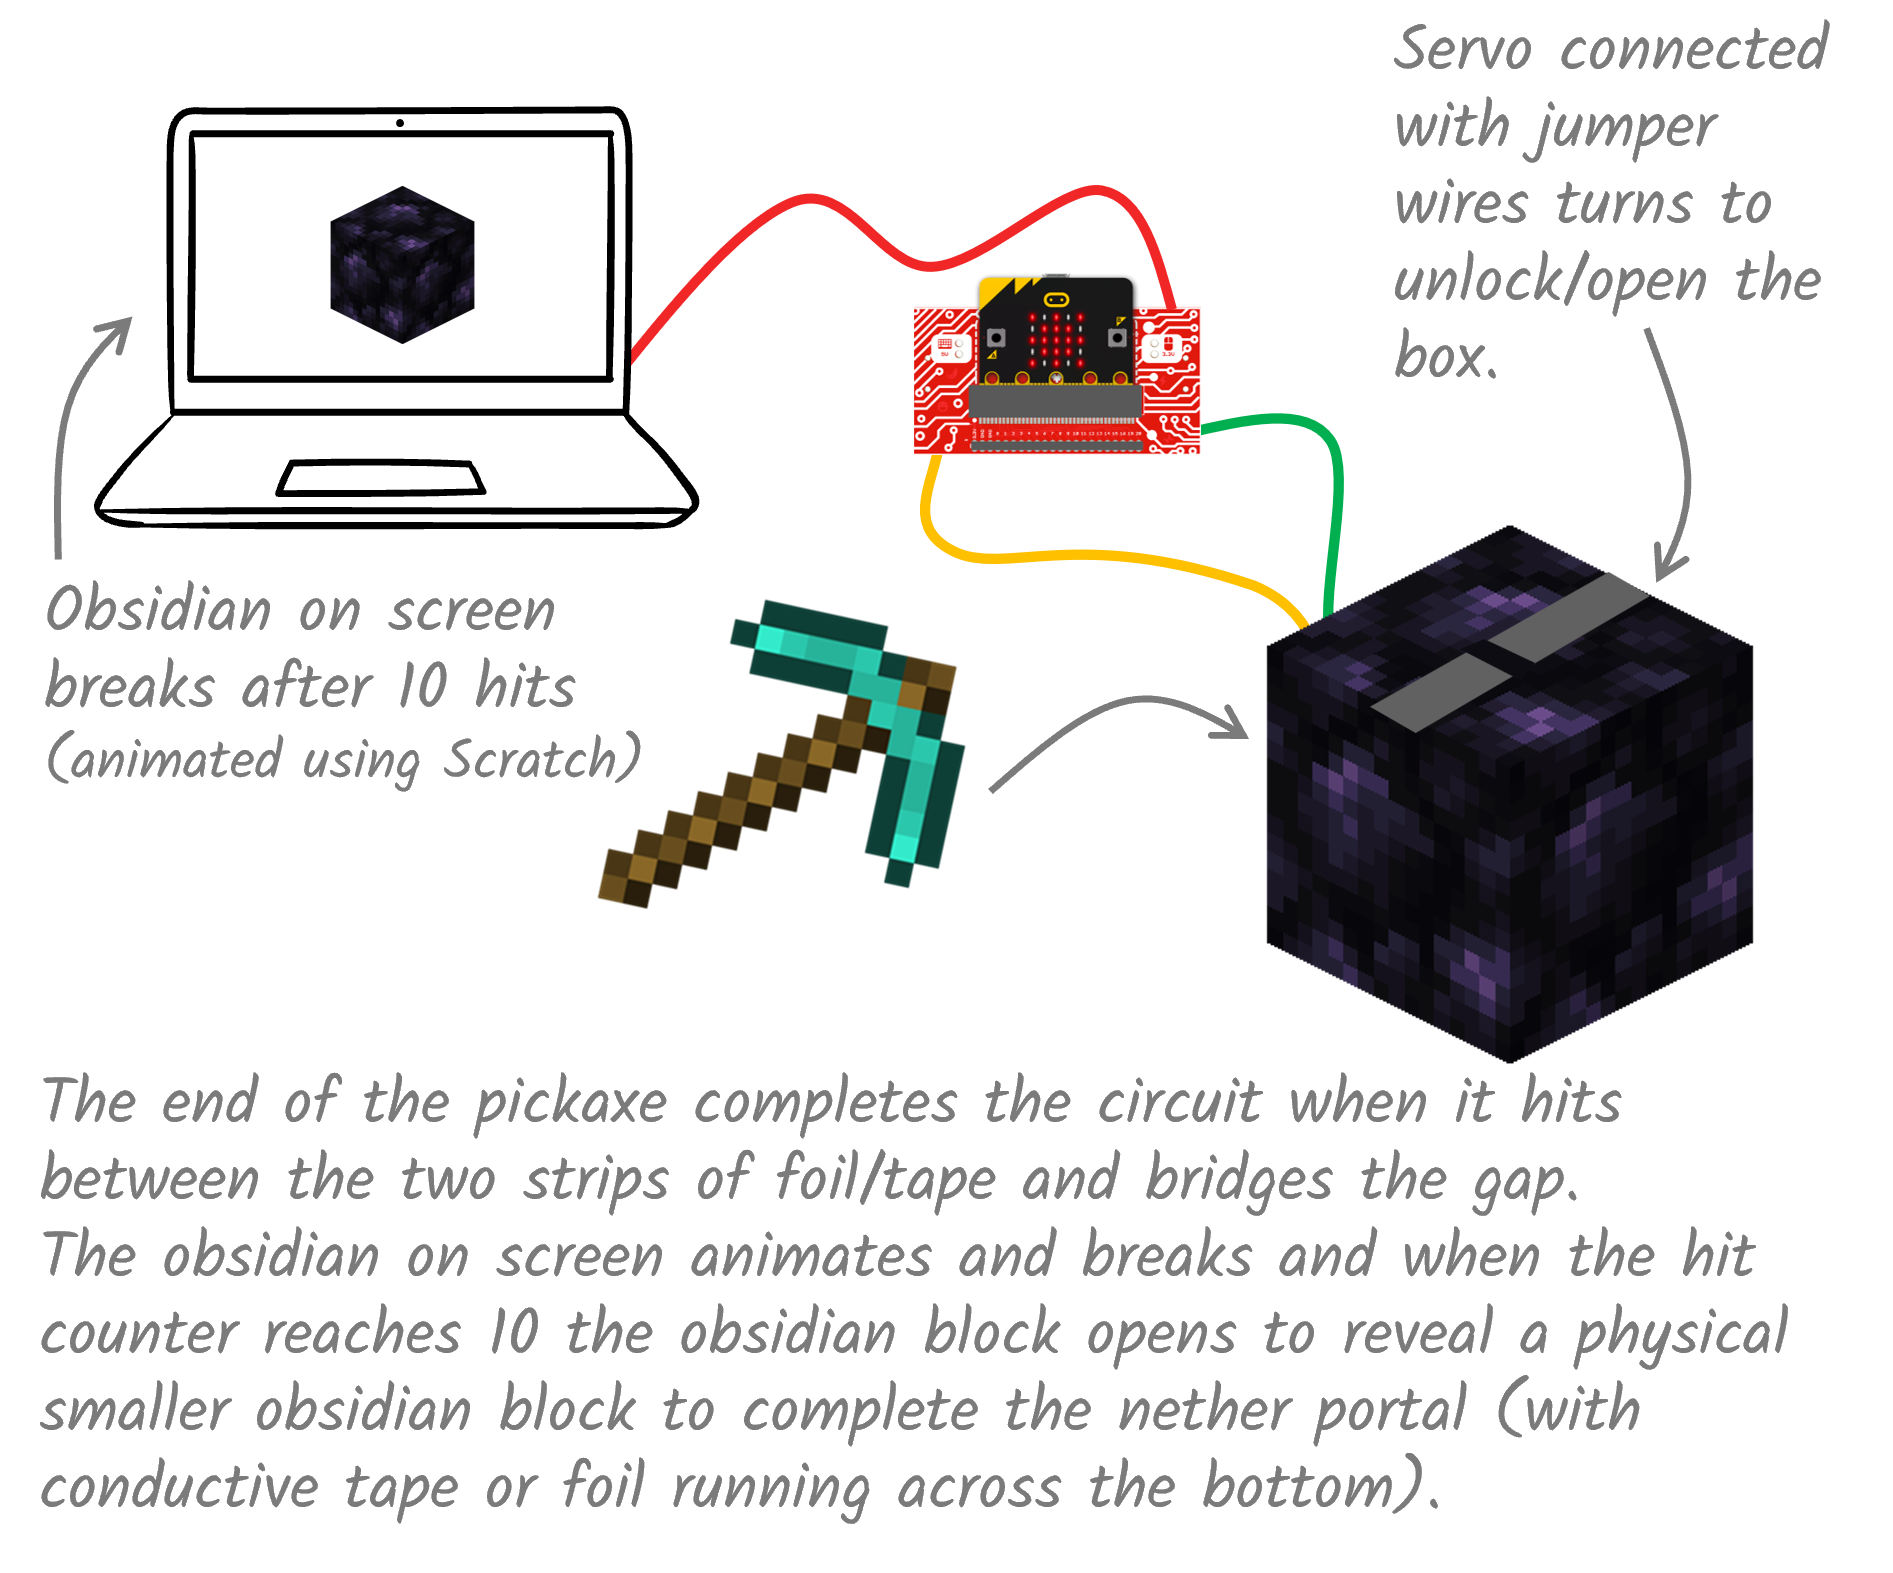
We were quite excited that this also gave us an opportunity to include the use of a MakeyMakey Code-a-Key Backpack - this meant that players could use their pickaxe to not-only interact with a micro:bit and send a radio message to the next challenge but it could also interact with a Scratch program on-screen at the same time which showed a piece of Netherite breaking as feedback. Here's a diagram of how this works:

Diagram explaining how to use a MakeyMakey code-a-key Backpack

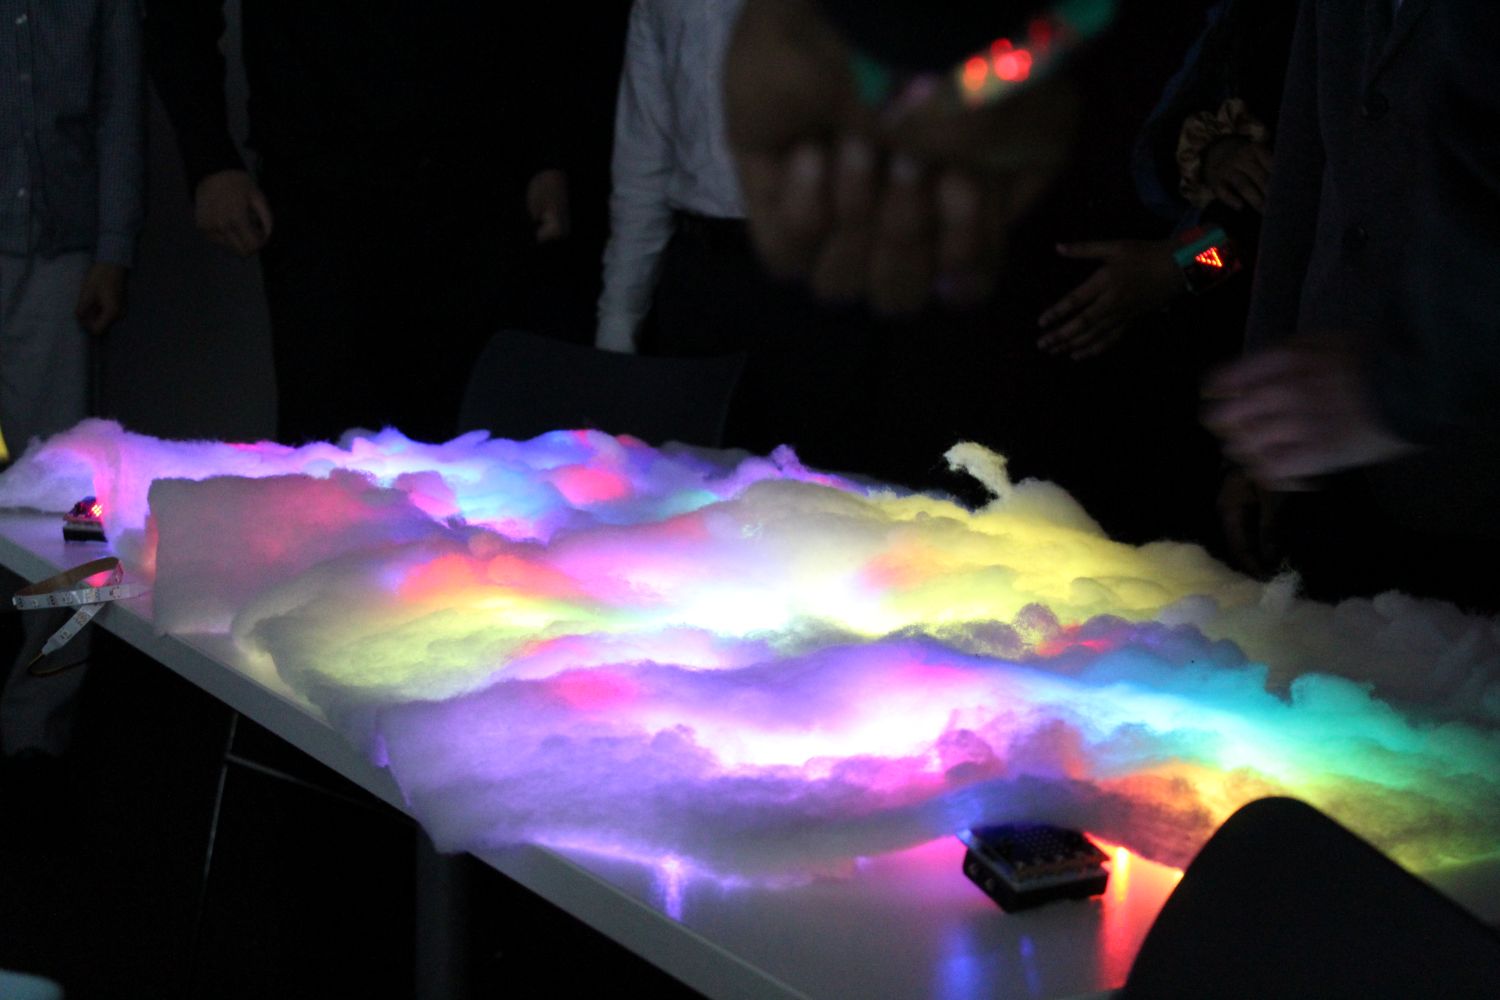
Finally, players use their netherite block to complete the NetherPortal causing it to light up using LED strips and step through into the next room.


Room 2 - Defeat the Ender Dragon 

In the second room players need to find lapis lazuli and place it on an enchanting table to enchant a sword which glows purple using an LED strip:

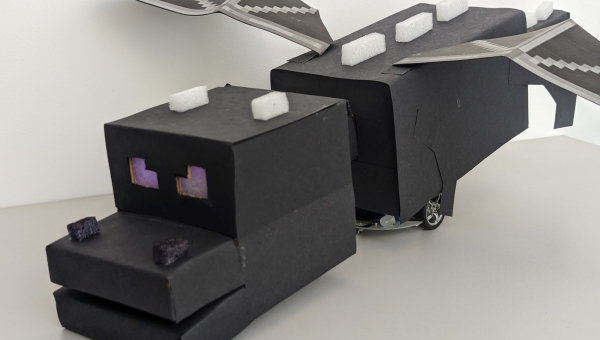
Once it is enchanted the sword is used to defeat the Ender Dragon which is released once the End Portal is complete. Just like in room 1 we were excited to, again, make use of the MakeyMakey Code-a-Key Backpack and Scratch. This time players use them to defeat an on-screen Enderman in Scratch utilising the tilt mechanism of the micro:bit which translates as  key-presses in Scratch. By using the MakeyMakey Backpack we were also able to have a servo attached that opens a door to release the eye of ender to complete the end portal.

Challenge Cards and Online Support

For each interaction we provided detailed challenge cards detailing how to build the item, inputs and outputs and code examples to enable the learners to work somewhat independently. As this is quite a conceptually challenging creation we also provided remote online clinics from here in the UK where we talked the learners through any issues they were having, particularly with some of the more complicated parts of the room.

Once complete the learners attending the workshops invited their parents to try out their escape rooms and here is a video showing them in action:


We have a range of workshops available in schools, if you would like to run something similar in school we are always happy to discuss bespoke solutions to fit in with your curriculum. For example we recently developed a selection of D&T specific workshops which you can read more about here.

micro:bit CPD: Getting Creative in the Classroom

micro:bit CPD: Getting Creative in the Classroom

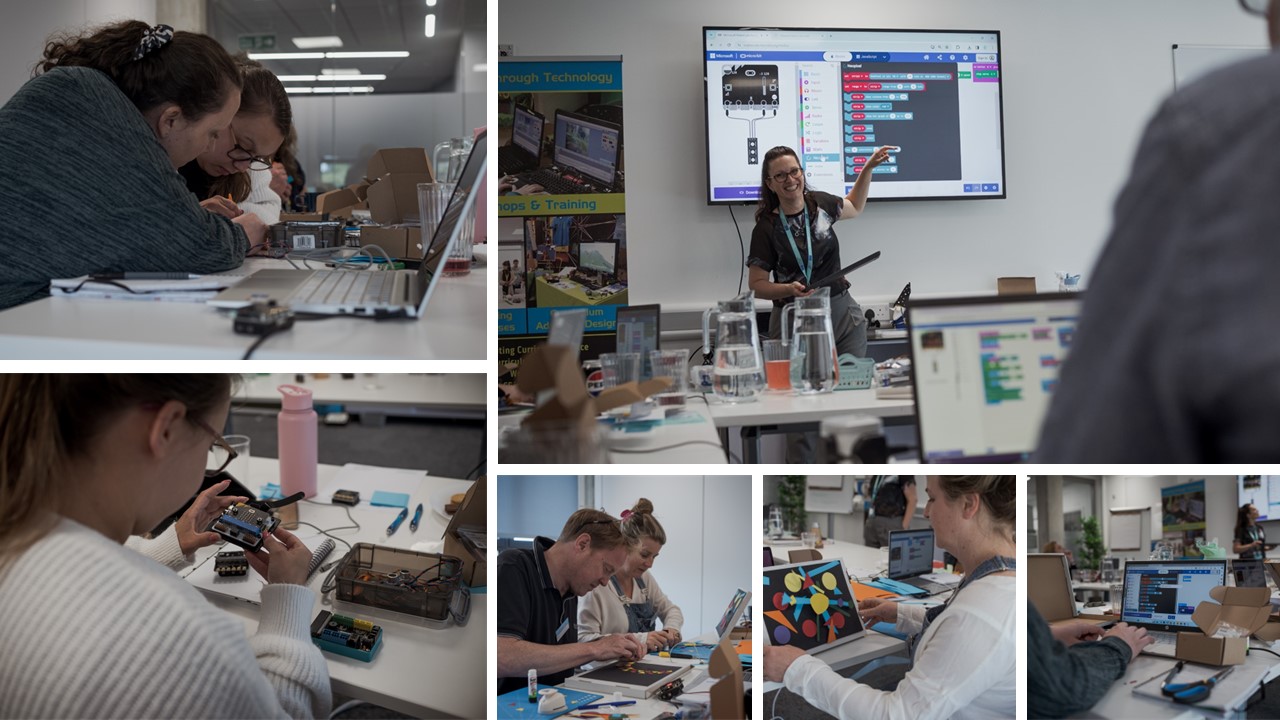
Last term we welcomed educators from a range of settings to attend a CPD event in which we explored lots of fun ways to use micro:bits in the classroom in a day filled with hands-on activities, creative projects and collaboration with fellow educators. Our projects combined both programming and mechanisms making the session well-suited for Design & Technology teachers as well as Computing teachers who work with KS2 and KS3 learners.

The session began with an introduction to the micro:bit and its vast array of features. We then investigated a collection of expansion boards available, delegates explored options before we considered the pros and cons of each. At U Can Too we typically use ring:bits by Elecfreaks, which we find are reliable and suit our needs for most workshops. But we know in a school environment, teachers may not wish to leave their micro:bits connected to a breakout board permanently and may also not have enough time to screw each one onto the board! 

We are always keen to share tips and tricks, so we ensured these were included along the way, while ensuring everyone fully understood how to program their micro:bits to control external components.

Delegates enjoying a U Can Too micro:bit CPD event

The activities in the session required external components, so we provided all attendees with a set of LEDs, a positional servo, a rotational servo and a breakout board to take home with them. These were all used to create two projects during the day meaning teachers had working examples to take back to their classrooms. The only thing teachers needed to bring from school was a micro:bit!

Project 1 - Moving Artwork

The first project was themed around our popular Kandinsky workshop in which delegates created a piece of Kandinsky-style art which they then brought to life by programming a micro:bit to control a servo motor, in this case they also investigated the use of the built-in sound sensor and light sensor. They were then shown how to add NeoPixel LEDs to their creations and program various light displays.

Project 2 - Robot Zoo

The second project of the day was a robot zoo which is another of our popular workshops! Delegates were able to use the skills and knowledge learnt in the morning session, alongside expanding their knowledge to include positional motion, and apply these to designing their own robotic creatures.

More to Come!

If this looks appealing you'll be pleased to know we have a fantastic line-up of CPD events for the new academic year and we'll be repeating this session next summer and offering a Crumble version in November. You can take a full look at our list of CPD events over on our CPD page or if you would like us to visit your school to run a workshop check out our workshops page to find out more.

A Computing and D&T Crossover with the micro:bit

A Computing and D&T Crossover with the micro:bit

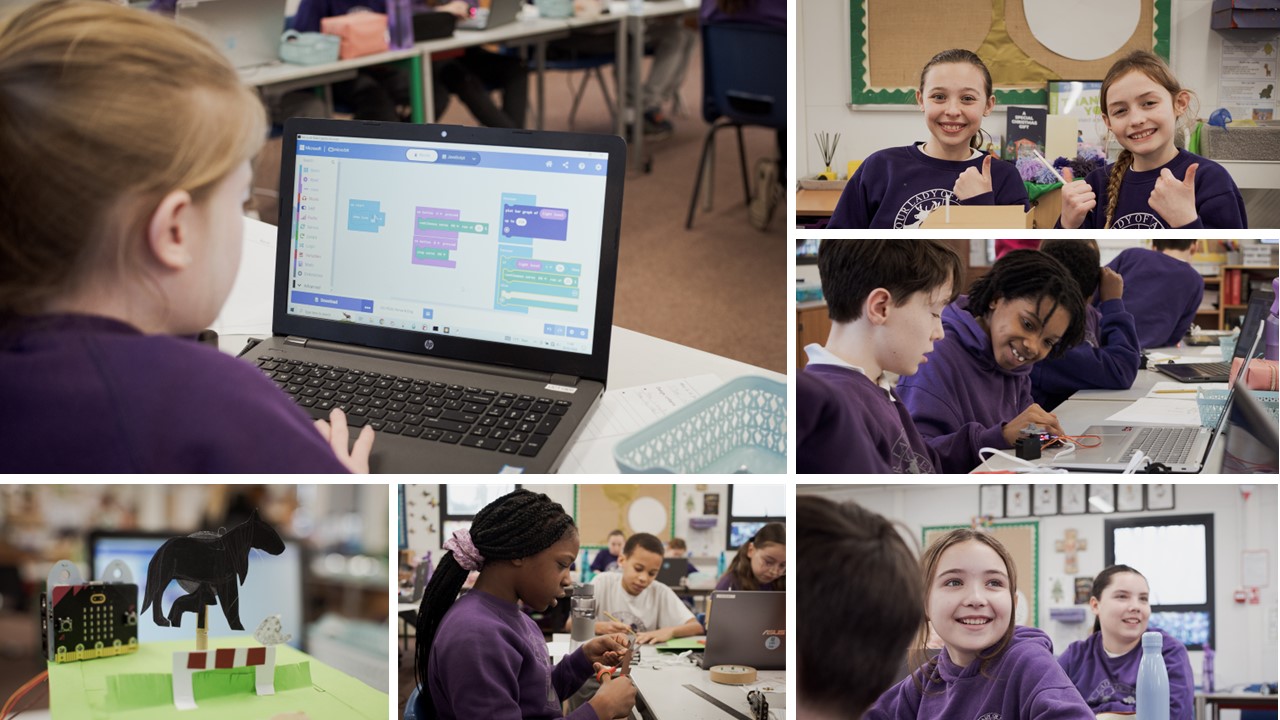
Last month, we had the pleasure of working with Our Lady Hartley Primary School on an exciting project. They were looking for bespoke workshops to combine aspects of their Computing and Design Technology curriculums. Combining two subjects in this way allowed them to keep costs down for each department by combining subject budgets, whilst achieving curriculum aims for both subjects.

The main context for the workshops came from their D&T work, for which they follow the Kapow curriculum. We designed and ran the following three bespoke workshops:

  • Year 2 - micro:bit-controlled Ferris wheels
  • Year 4 - micro:bit-controlled Tower Bridge replicas
  • Year 6 - micro:bit-controlled light-activated, literacy-linked automatons

Year 2

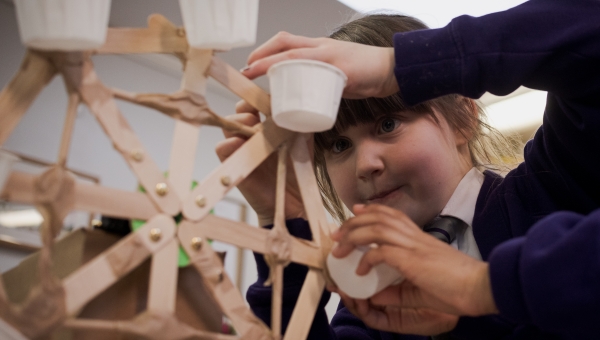
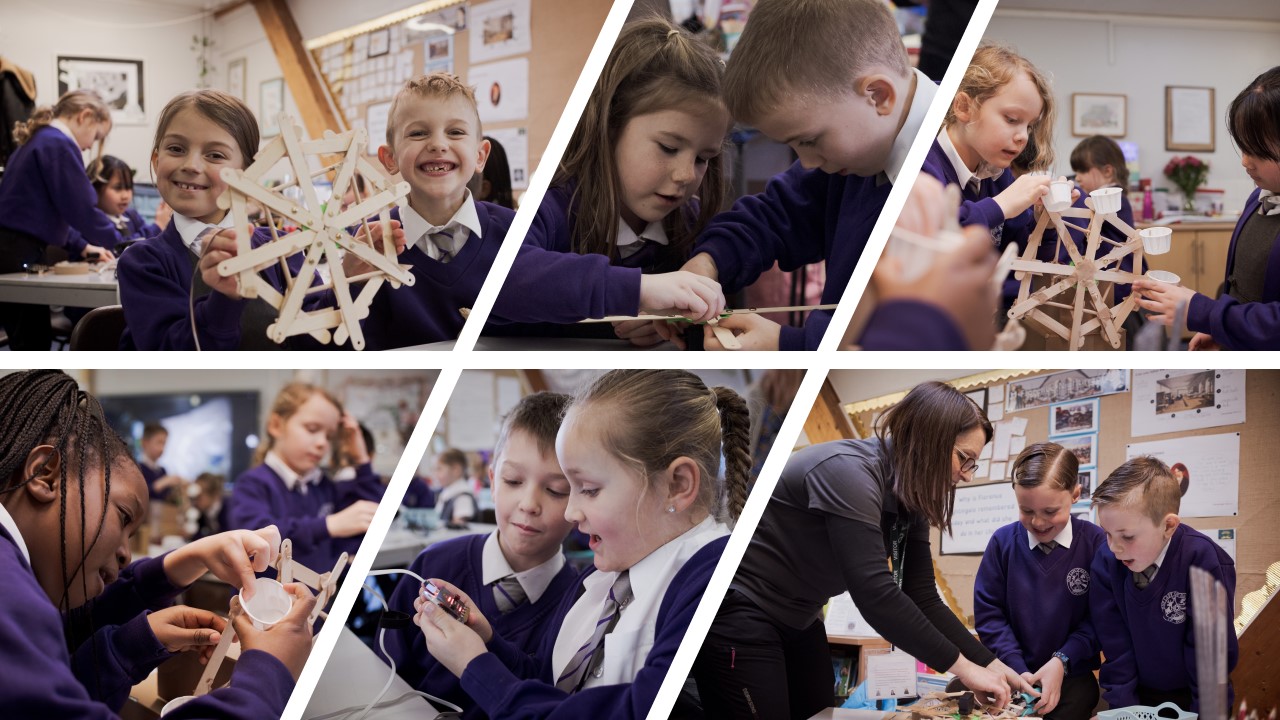
From a D&T perspective, year 2 were required to build their own Ferris wheels, and from the computing curriculum, they needed to be able to create simple programs. To achieve these objectives, pupils built their Ferris wheels from cardboard boxes, lolly sticks, and sauce pots.  They considered how to make strong structures, using triangles and the need for pods to remain continuously upright while the wheel travels around. They then attached the main wheel to a servo motor, connected to a micro:bit. Pupils programmed their micro:bits to spin when the A button is pressed and stop when the B button is pressed. The children needed to consider and control the speed of their Ferris wheels during the production too, as you can see, not only did the children really enjoy the day, they were really focussed on their work too: Year 2 making micro:bit controlled ferris wheels


Year 4

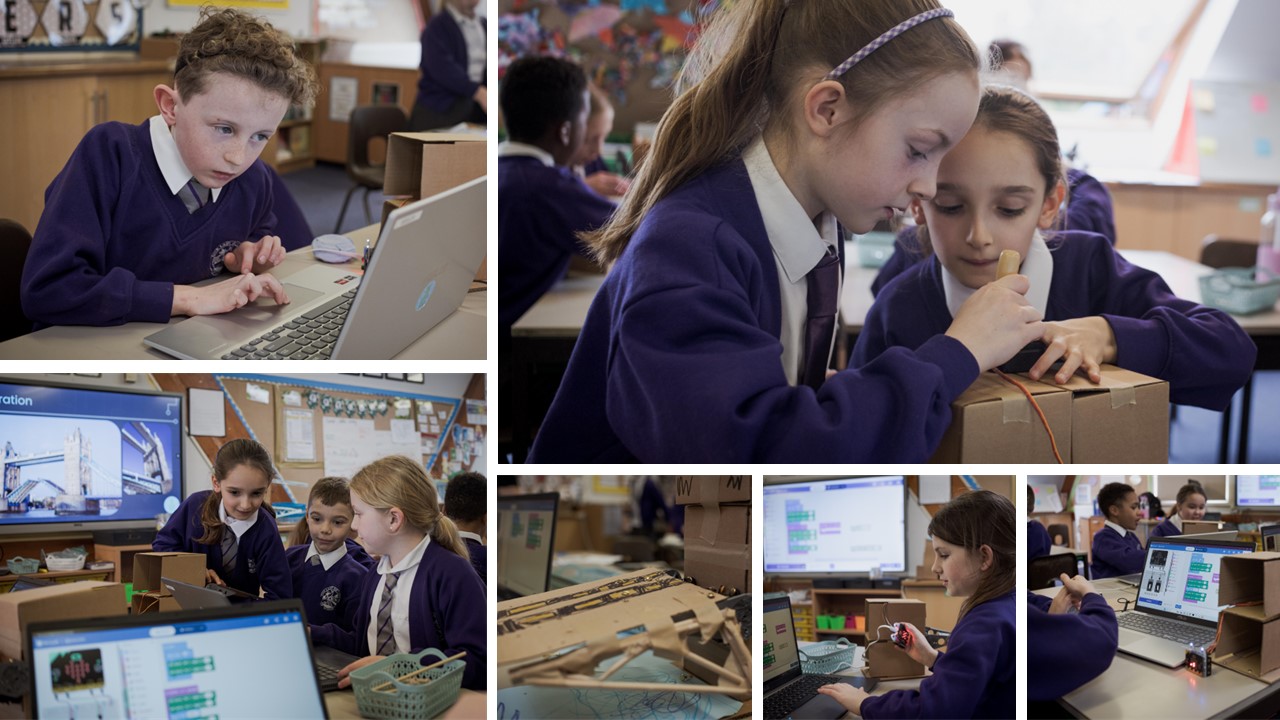
The year 4 children had been learning about bridges in D&T and for this particular session, the school had asked for a workshop to recreate Tower Bridge with a mechanism to raise and lower the bridge just like the real thing! On the day, children worked as pairs in larger groups of four, each pair making half a bridge, each half was then joined with the other pair’s half-bridge to create a complete model of Tower Bridge. Like the year 2 workshop, the children programmed their micro:bits to control two servos to raise and lower their side of the bridge. With year 4, the programming for this was a little more complicated as they were using positional servos which meant they needed to consider how many degrees the bridge should move to get it to the correct positions and delays to allow boats to pass under the bridge. Some even extended their programs slowing their servos motion by using variables and maths.

Year 4 making micro:bit controlled bridges


Year 6

In year 6, the children had been reading the book, The Boy, the Mole, the Fox and the Horse by Charley Mackesy, so we combined this theme into their automatons. The internal workings of the automaton was fairly standard, utilising a cam and follower mechanism. We provided a method to connect the mechanism to a servo enabling the automatons to run automatically. As this workshop was with year 6 children, we needed to ensure the computing aspect covered more complex programming, including selection (if…then statements). In this workshop, pupils used the light sensor on the micro:bit as the input with pupils triggering the automatons by waving their hand in front of the device.  Pupils also learnt how to find the ambient light level to establish a suitable threshold for triggering the motion.

Year 6 making micro:bit controlled automatons


The computing aspect for each of these workshops was in the use of physical computing, programming a micro:bit to control servo motors within each build. The programming skills used for each year group were aligned with the Computing National Curriculum applying the following aspects:

  • Year 2 children were able to create and debug simple programs to make their Ferris wheels turn and stop using the inputs and outputs on the micro:bit. 
  • Year 4 children focused on sequence in their code as well as utilising their maths knowledge of time and angles to include pauses to ensure the bridge moved to the correct position and remained there for a set amount of time.
  • Year 6 children focused on using a sensor as an input and selection within their code to control the movement of their automatons.

We very much enjoyed generating a new set of bespoke workshops, particularly with the challenge of combining aims from two subjects in one day’s outcome. 

Please get in touch if you would like to run something similar in your school or explore bespoke workshops for your setting. We already offer workshops that combine computing with a range of other subjects or to fit in with a particular topic; popular options include science and art. Combining subject budgets really helps to spread the cost of workshops in school; you can find out more about this here.

Top Tips to Fund a Creative Computing Workshop

Top Tips to Fund a Creative Computing Workshop

Are you keen to book one of our exciting and engaging workshops but worried that your school budget won’t stretch far enough to cover the costs? Well, we have some good news for you, firstly our prices are very competitive and we’re always happy to discuss a range of options to help you bring down the cost if needed, like holding a half-day mini workshop instead of a full day. Always get in touch to discuss your needs first!

If your budget still just isn’t stretching far enough read on for some top tips from the schools we’ve visited! 


1. Combine Department Budgets

An approach we often see when visiting schools is the combining of department budgets. Due to the nature of our workshops, they cover various subjects within the National Curriculum; in particular, Design and Technology and Art. Often schools combine their department budgets together to fund a workshop that covers multiple subjects. For example, if your school also runs the Kapow D&T curriculum, we can make your year 2 ferris wheels come to life using Computing and electronics, or how about sensor-activated automatons with year 6? We’re open to ideas and can adapt our workshops to suit your specific subject needs!

Of course, if you want to link to art our Activated Art workshop is very popular and can be adapted to any theme:

We don’t just cover D&T and Art. Our Healthy Mind, Healthy Body workshop also links to Science and PSHE and we offer Move and Code which is linked to Dance and Performing Arts.

2. Trip Alternative

Some schools opt for a full-day workshop with the children contributing towards the cost as an alternative to a trip. This often works out cheaper per head for parents with no travel costs on top and provides a rich learning experience for children! As we are able to easily theme our workshops to suit your needs this can easily be linked to the current topic or book.

3. Pupil Premium Funding

As stated in the Government Guidance on the use of Pupil Premium, schools are able to use Pupil Premium funding to  support wider strategies such as extra-curricular activities. It can also be used to fund CPD activities to support high quality teaching and learning.

4. PTA

Many schools have a very active PTA who are often happy to partially fund workshops in school if, like ours, they are closely linked to the National Curriculum.


Well, that's our round-up of top tips! Are we missing anything? Leave us a comment below if you’ve found an alternative method of funding that we haven’t covered here.

Eight Years of Climate Action

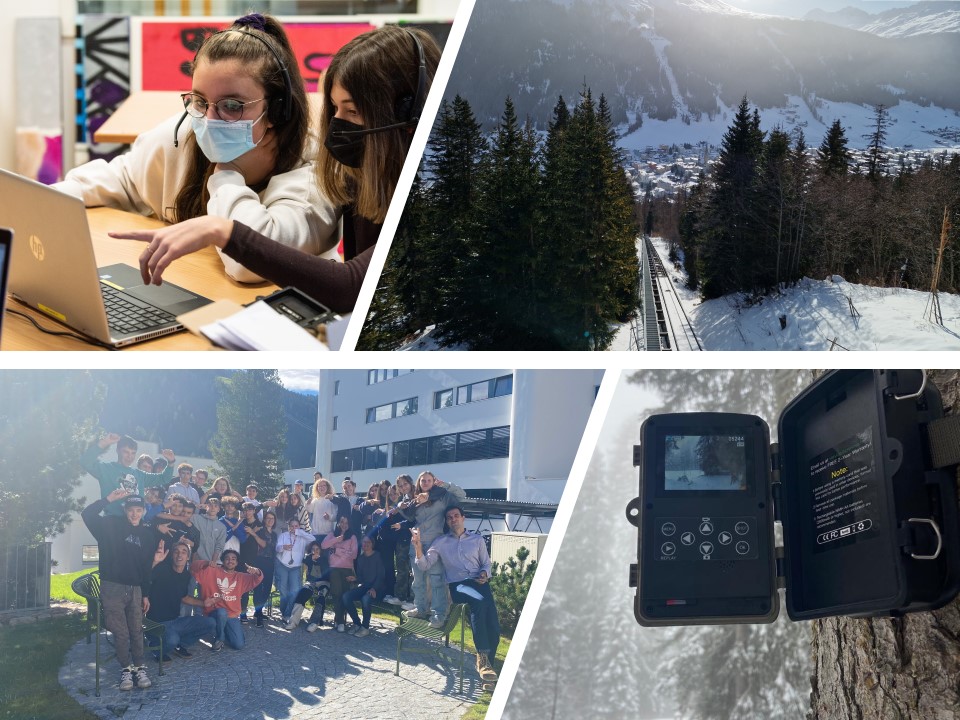
In addition to our work with school students in the UK, for the last eight years, we have been contracted by Salesforce to support understanding of global environmental issues through Climate Action Labs. This programme began with one school in Davos, Switzerland and has since been rolled out to schools in Japan, San Francisco and India.

 Seven Years of Climate Action Davos Codes

What is a Climate Action Lab?

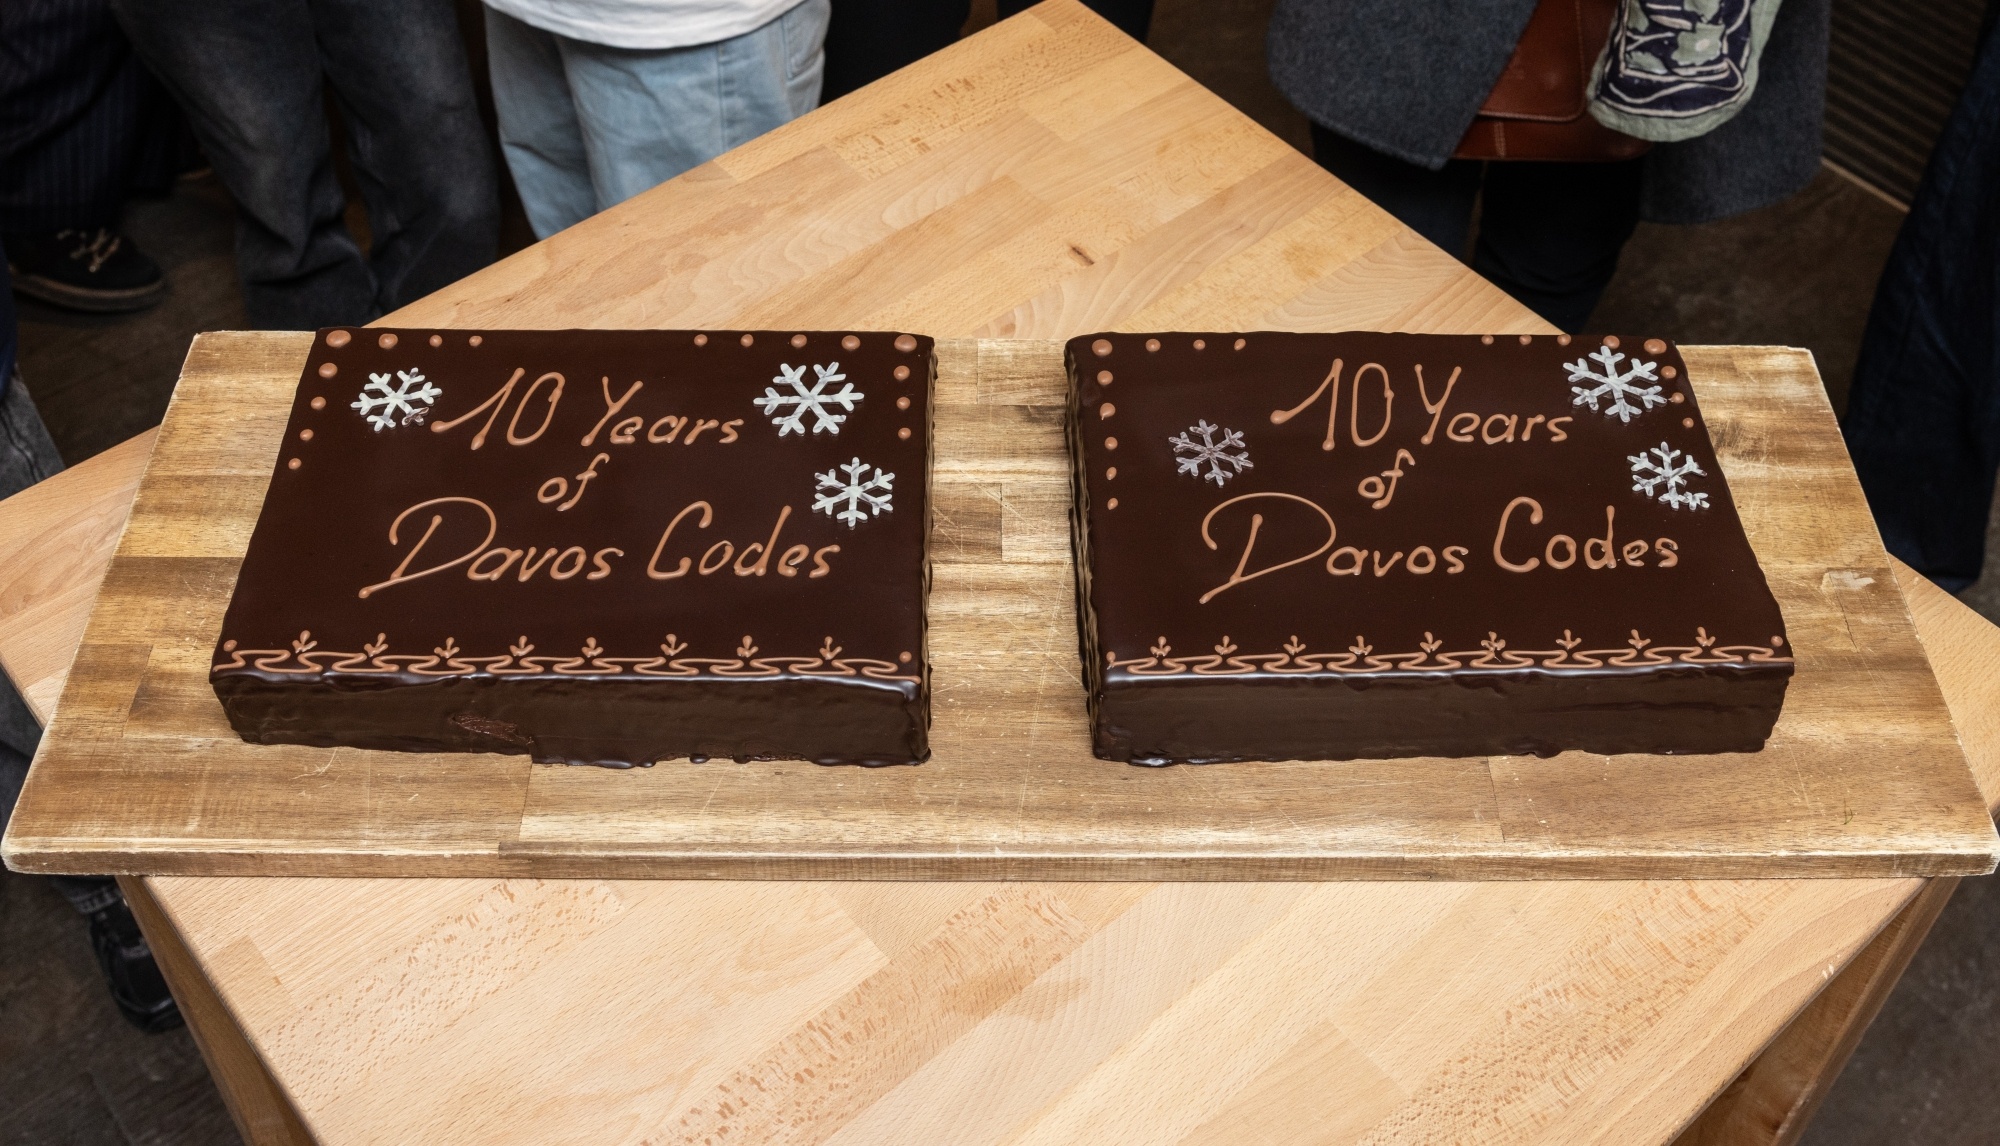
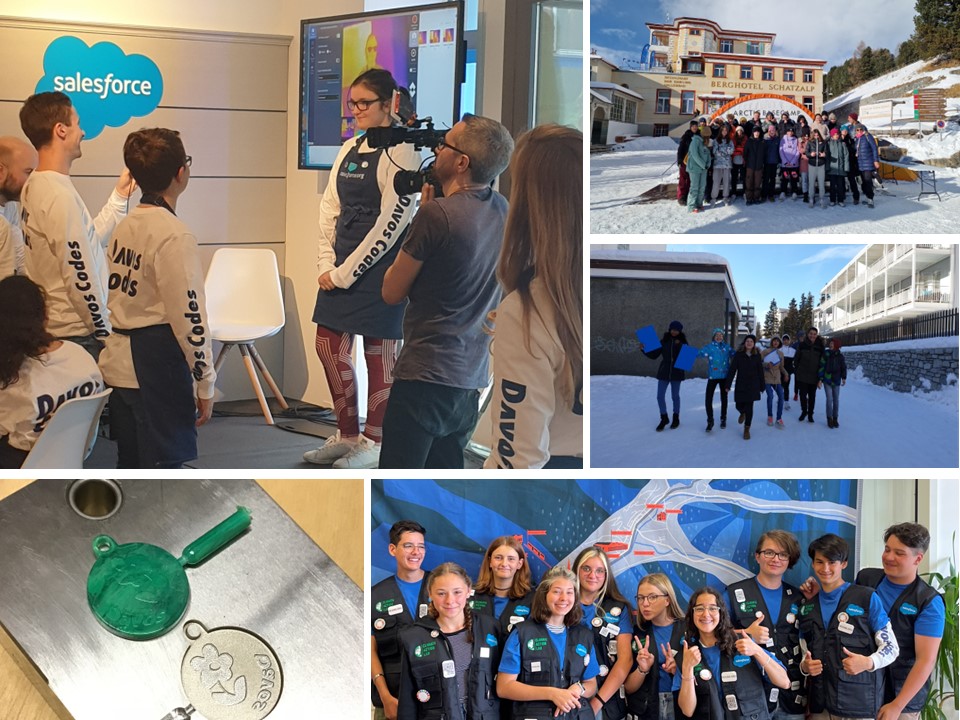
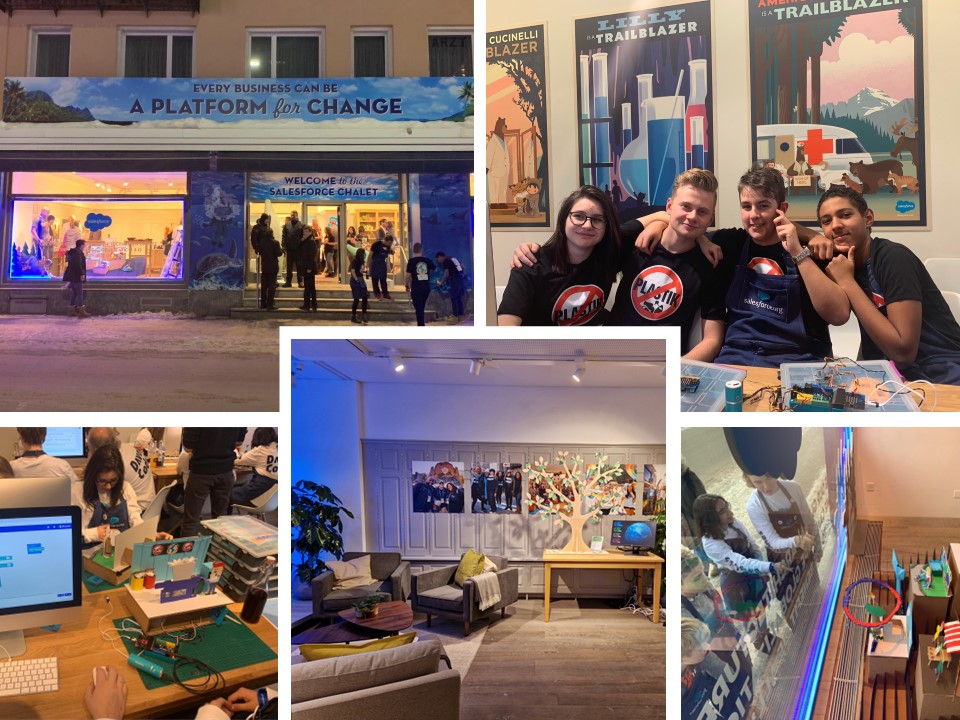
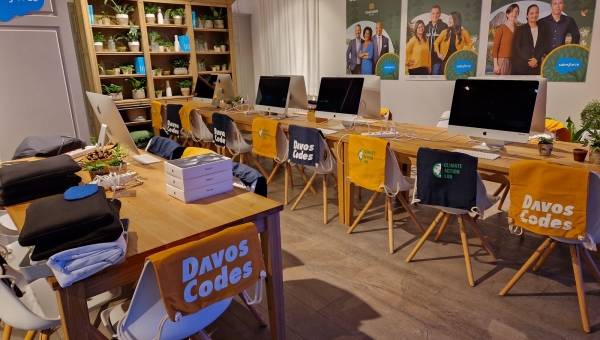
The Climate Action Labs began as Davos Codes, founded by Salesforce in 2016, an event that took place at the World Economic Forum. Initially, Davos Codes began with a simple focus on programming.  However, in the second year, it began to focus on using technology for purposeful outcomes related to the United Nations' Sustainable Development Goals.  In the run-up to the 2017 WEF, Salesforce invited U Can Too to support the curriculum development of Davos Codes projects.  Each annual WEF brought a new project focus for Davos Codes, and quickly, there became enough content to develop the Climate Action Lab programme and share more broadly. 

A Climate Action Lab is an ongoing project focusing on the use of technology, in which groups of learners plan, investigate and tackle a real-world issue linked to the Sustainable Development Goals founded by the UN. Within the programme, young people learn about environmental issues facing the world, develop their own Climate Action Lab identity for their group, explore climate issues and Global Goals specific to their location, then use technology to investigate, collect data and share findings in relation to their identified issue. We are currently actively working with schools in Davos, Switzerland and Palanpur, India also providing opportunities for the students in both schools to connect via a ‘Lab Linkup’; a video call where students share experiences and discuss their findings.

Projects students have undertaken within Climate Action Labs include:

  • Using digital technologies to build and deploy air quality monitoring systems
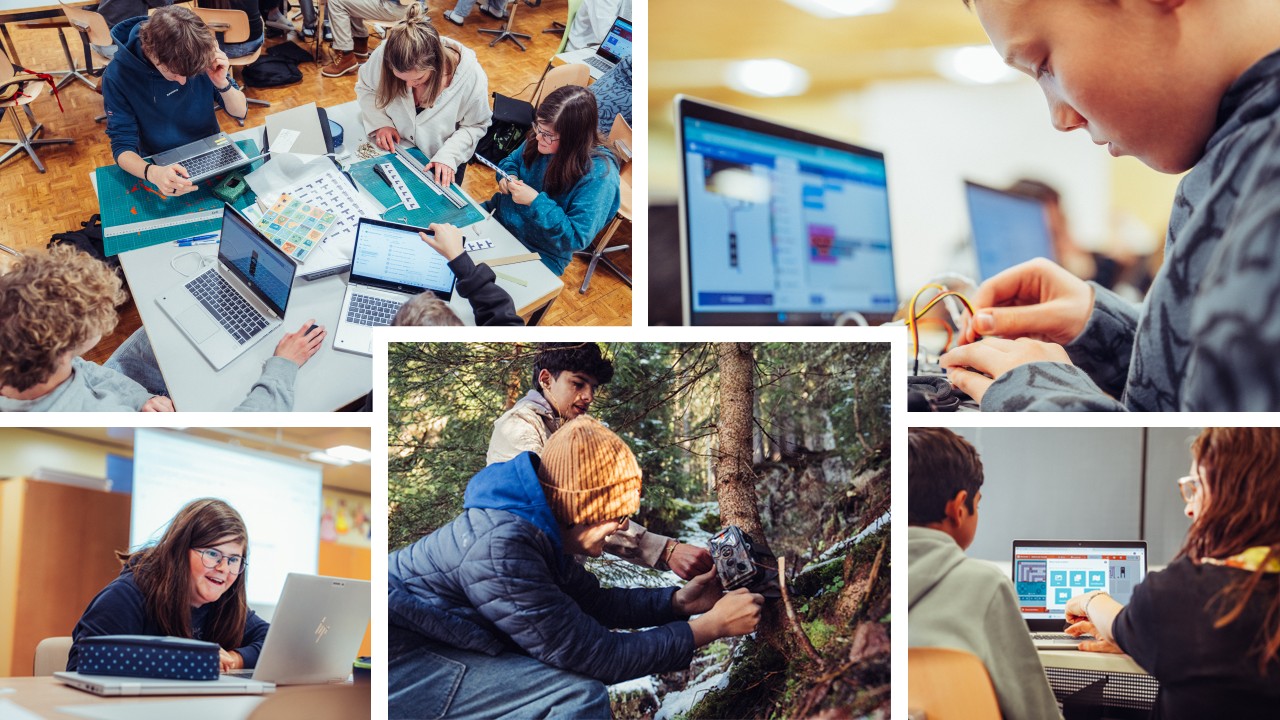
  • Using wildlife cameras and audio recording equipment to monitor and track local wildlife
  • Building seismometers to measure ground movement and learning about their use in relation to both earthquakes and avalanches
  • Collecting used plastic and recycling it with specialist machines
  • Using technology to monitor and sample water quality

The Impact of Our Work

It is hugely impactful for the young people working on these projects to see that they are working on something important, that is recognised globally. Each year learners from Davos are invited to share their work at the World Economic Forum; they have even had the opportunity to present via video messages at COP26. U Can Too has been part of the World Economic Forum for the past seven years with team members attending the event alongside the young people we have been working with.

In addition to their work being recognised globally at the World Economic Forum, the young people have actively campaigned for change in their local area as a result of their findings as part of their Climate Action Lab. In 2018 students were so shocked by their discovery of microplastics in the pristine waters of their mountainous region, that they campaigned for action which led to them winning a local campaign for their town to adopt plastic recycling. You can read more about this on the SalesForce blog here.

Their campaigning was extended in 2019 focussing on the Circular Economy and saw learners collecting plastic waste and using an injection mould machine to reuse this waste and produce campaign bracelets, helping to raise awareness of the importance of plastic recycling.

 Seven Years of Climate Action Davos Codes

In 2020 learners in Davos discovered from their air quality data how fireworks had a huge impact on environmental air quality when collecting and reviewing data across New Year's Eve. From this information, they were able to inform a campaign that led to a ban on fireworks within their hometown.

World Economic Forum

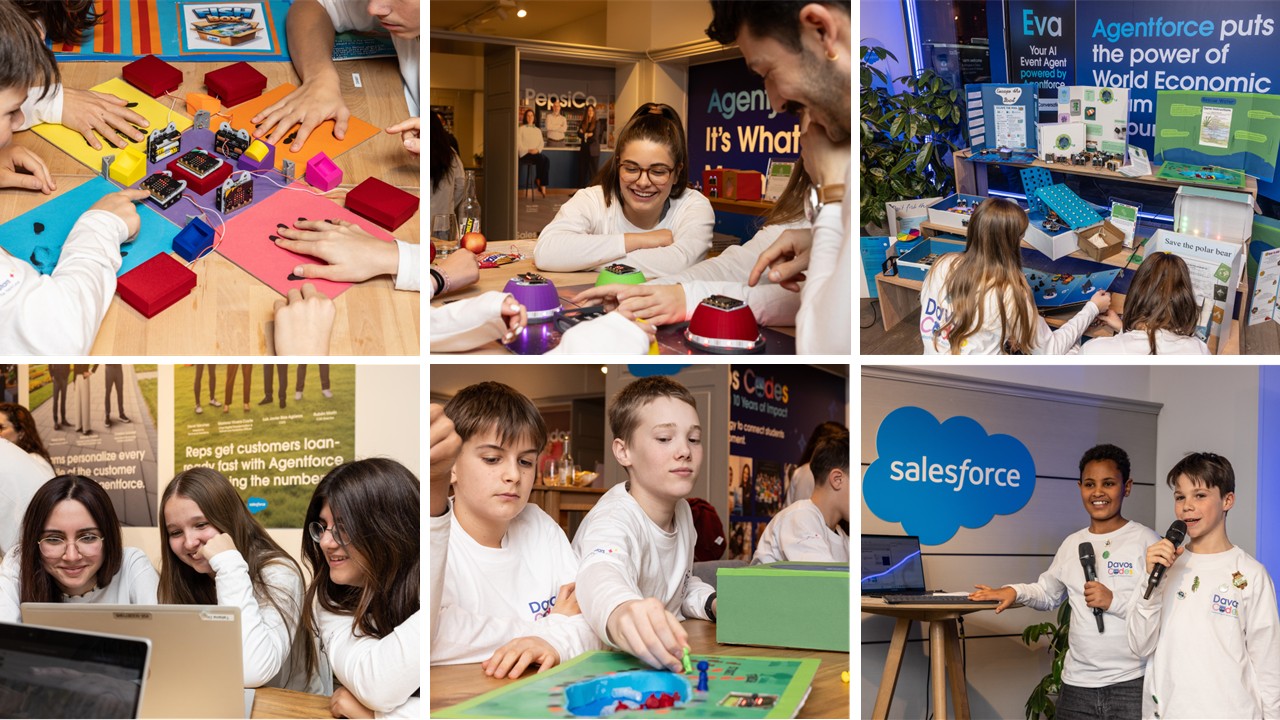
The World Economic Forum meets annually in Davos, Switzerland and convenes over 100 governments, all major international organisations, the 1000 most important global companies, relevant civil society and academic institutions, as well as the global media. It is a huge, global event that provides a fantastic showcase opportunity for the students we work with. We’re very proud to have attended again in 2024 to support our hard-working young people at the Davos Codes showcase event. This year, students from both Davos and Palanpur participated in the event and shared their Climate Action Lab projects. We worked with students from both locations across several months leading up to the showcase event in January, using a wide range of equipment and developing a creative set of showcase demos. 

Students used an AMOS (Aquatic Mini Observation System) with many sensors mounted onto a surfboard.  They augmented their AMOS by adding a turbidity sensor (the type usually found in a washing machine or dishwasher) to detect particles suspended in water, and they also began to explore the challenges around automated water sample collection.  They continued to use air quality devices, seismometers, wildlife cameras and Audiomoth devices to collect image and audio data relating to wildlife.

At the Davos Codes 24 showcase event, students heard from the impressive and inspiring Dr Jane Goodall, the fantastic YouTuber, Jacob Beautemps, and local AI expert, Hansueli Judd.  Students built moving dioramas to share their experiences of using the array of technology and learned about the differences between AI and machine learning using the HuskeyLens and micro:bit.  It was another high-reaching year for the students of the Realschule class, and they achieved amazing results. Three class members even got to attend Marc's Lunch, which they opened by sharing a little about the projects they had undertaken, then met celebrities such as Will.i.am, Sting and Dr Jane Goodall! We're already looking forward to next year, with great plans in mind!

Seven Years of Climate Action Davos Codes

Code and Make Workshop - Summer 2023

Code and Make Workshop - Summer 2023

A few weeks ago we ran our third Code and Make workshop at Downswood Community Centre in Maidstone.

What are Code and Make Workshops?

Code and Make Workshops provide a great way for 7 to 11 year olds to get stuck into some creative fun with computing during the school holidays. The children had lots of fun while enhancing their coding knowledge and creativity! You can find more about upcoming workshops on the Code and Make page

Computer Game Creator

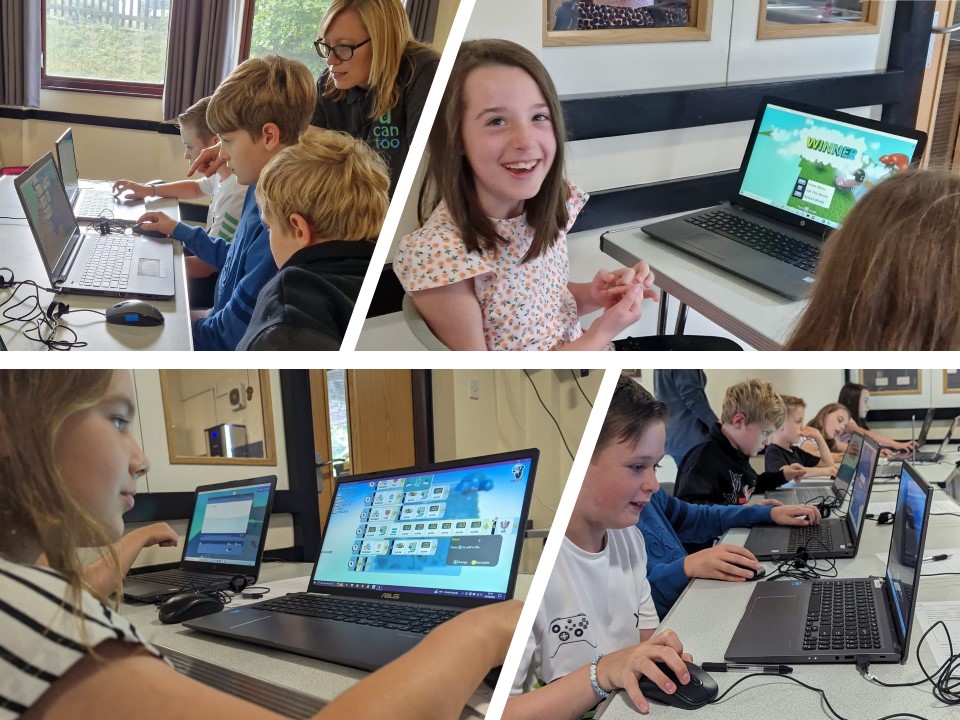
Our summer holiday workshop was focussed on creating computer games; children learnt how to design and program their own computer games using free software called Kodu Game Lab. At the end of the session we held a showcase where they were able to show their creations to their grown-ups and they were able to take their games home to play or continue working on. Here’s an overview of the workshop:


What is Kodu Game Lab?

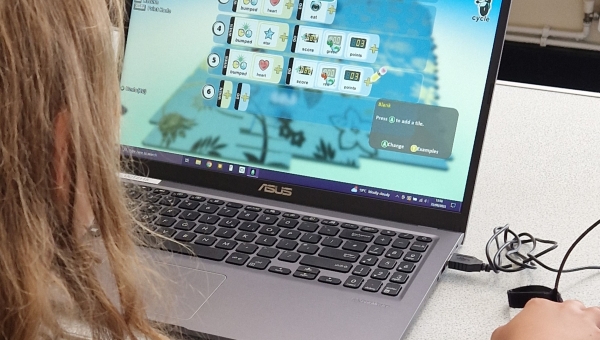
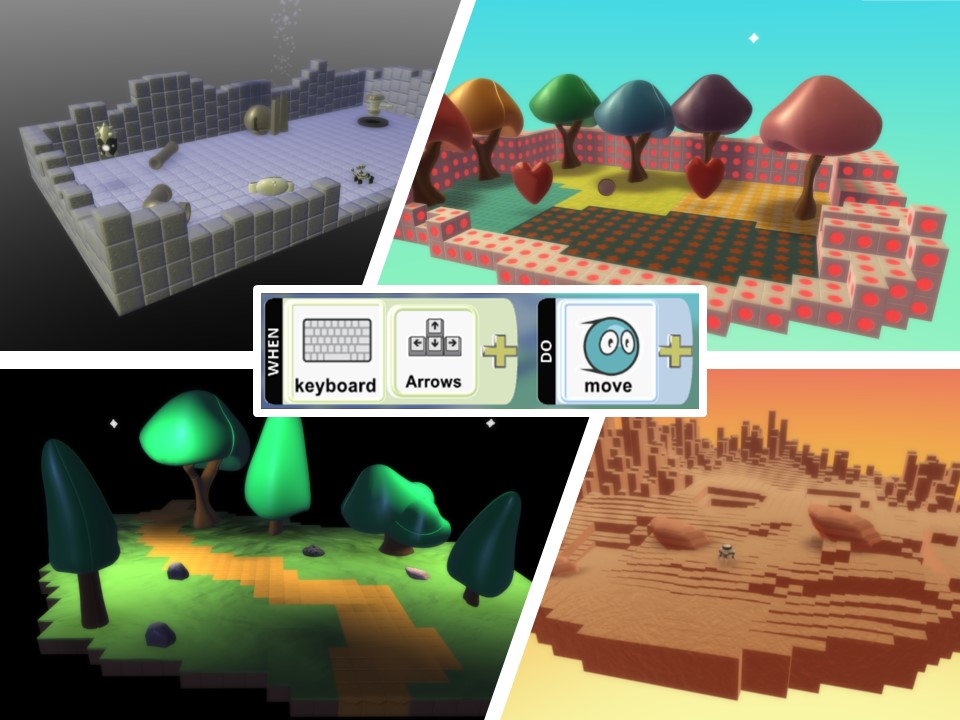
Kodu Game Lab is a 3D game development environment aimed at children. It has a simple interface to enable children to get started easily by building their world and populating it with characters and objects. Children can then program the game rules within a visual programming environment.

Code and Make - Kodu Game Lab Screenshot

Kodu Game Lab is available as a free download from the Windows Store.


What did the children learn?

In this session we began by teaching children how to create a world by selecting different types of terrain and changing the heights. The children then investigated the available objects they could add and once they were happy with the world they had created they programmed a character to be controlled by the player to collect objects and add to the score. The player could win the game by collecting all of the objects. The children then added a non-player character to the game and added dialogue between the characters.

Once they had gained the basic skills they needed to make their own game they had a go at designing and building their own games.

Code and Make Summer Workshop

We definitely achieved a lot in one workshop and it was amazing to see how much the children enjoyed unleashing their creativity and story-telling skills within their games!

Our next Code and Make Workshop is a spooky Robot Monster Zoo and will be taking place on 30th October, just in time for Halloween! You can find out more and take advantage of our early bird discount here.


Crazy Golf Creations Workshop

Crazy Golf Creations Workshop

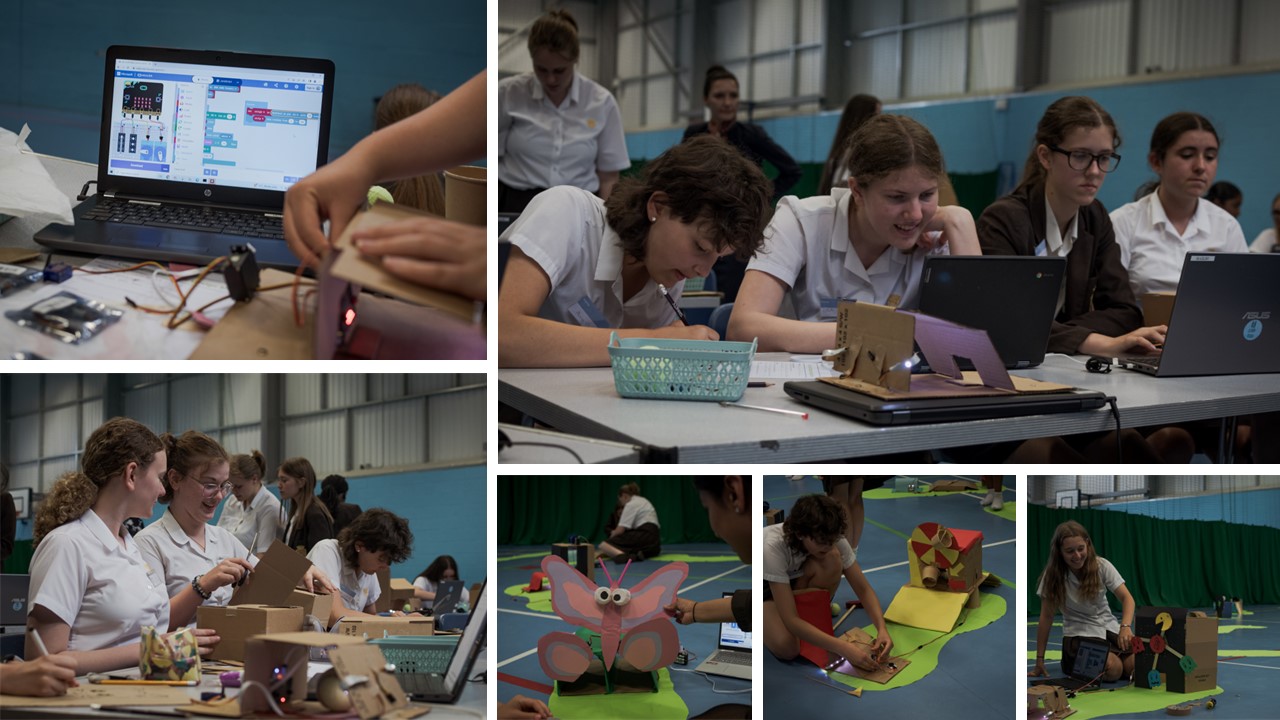
Last week we had a very enjoyable day at Maidstone Grammar School for Girls running a Crazy Golf Workshop, this workshop is proving very popular this term and I’m sure you can see why! It encompasses so many different aspects of STEAM learning by combining coding knowledge with design and technology to build an interactive crazy golf obstacle.

What is a Crazy Golf Workshop?

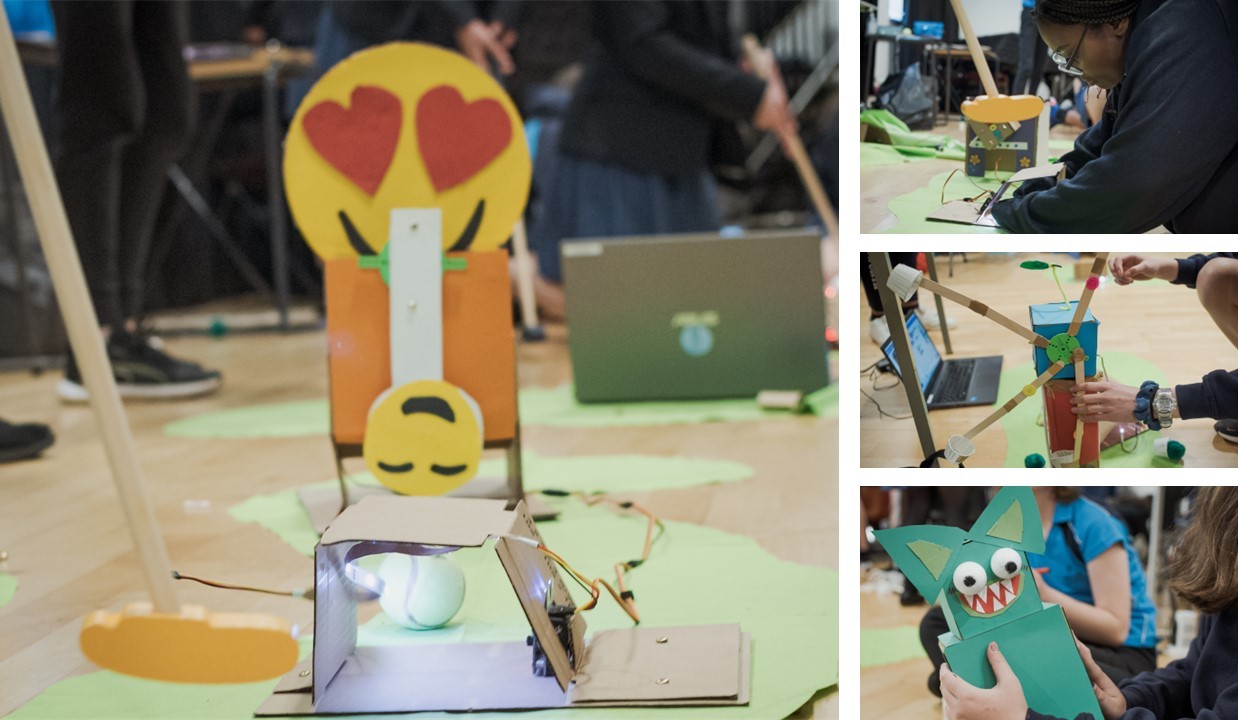
In our Crazy Golf workshop learners work together to problem-solve and build a mini golf course, which involves the use of physical computing to program and build fun interactions to trigger throughout the course. First they need to program the micro:bit’s light sensor to detect when the ball passes through a tunnel at the start of the course, this restricts the light reading briefly which triggers other events to happen, such as a spinning ferris wheel or a monster’s mouth opening (to name but a few). 

Crazy Golf Creations with Maidstone Grammar School for Girls

To build their creations learners use a micro:bit and connect additional electronics using a ring:bit as a breakout board. This allows servos and NeoPixel LED strips to be connected easily and also provides power through the connected battery pack. Throughout the workshop learners must, not only, overcome coding challenges but they also have to consider their designs to create something that is both appealing and robust. The girls produced some amazing results and had a great time as well. Here’s a video showing an overview of the day:


If you’re interested in booking one of our workshops in your school, check out our workshop list here.

Women in Engineering with Crazy Golf Creations

Women in Engineering with Crazy Golf Creations

Did you know today is International Women in Engineering Day? This is a yearly event celebrating the amazing work that women engineers around the world are doing to support lives and livelihoods every day. You can read more about it here

Here at U Can Too we’re big supporters of women in technology and engineering so we thought today would be a great time to shine a spotlight on one of our recent all-girl workshops at Highworth Grammar School for Girls. Here the girls became both programmers and engineers when they had the job of creating interactive obstacles for a micro:bit powered crazy golf course in our Crazy Golf Workshop!

International Women in Engineering Day - Crazy Golf Creations

What is a Crazy Golf Workshop?

In our Crazy Golf workshop learners work together to problem-solve and build a mini golf course, which involves the use of physical computing to program and build fun interactions to trigger throughout the course. First they need to program the micro:bit’s light sensor to detect when the ball passes through a tunnel at the start of the course, this then triggers other events to happen, such as a spinning windmill or a crocodile’s mouth opening (to name but a few). This workshop really brings out the imagination in young people, not only challenging their programming skills but also their engineering prowess as if their obstacles aren’t strong enough they will break before the ball passes through!

The girls produced some amazing results and had a great time as well!

As you can see, our workshops are not solely focussed on computing, there is a lot of art, creativity and engineering going on at the same time encoompassing all aspects of STEAM in education! If you’re interested in booking one of our workshops in your school, check out our workshop list here.

International Women in Engineering Day - Crazy Golf Creations


Happy International Women in Engineering Day from the team at U Can Too!

Code and Make Workshops - May Half Term

Code and Make Workshops - May Half Term

Last week we ran our first two Code and Make workshops at Downswood Community Centre in Maidstone.

What are Code and Make Workshops?

Code and Make Workshops provide a great way for 7 to 11 year olds to get stuck into some creative fun with computing during the school holidays. The children had lots of fun while enhancing their coding knowledge and STEM skills! You can find more about upcoming workshops on the Code and Make page. Here’s an overview of last week's workshops:

Robot Coronation Parade

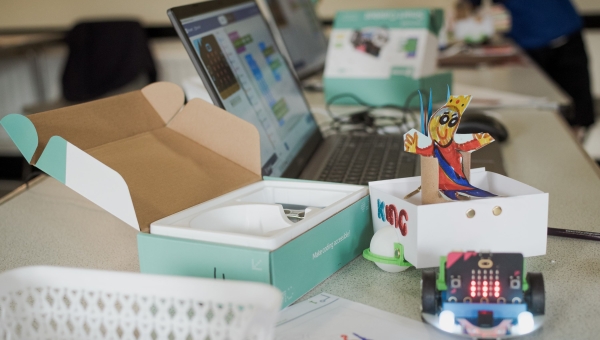
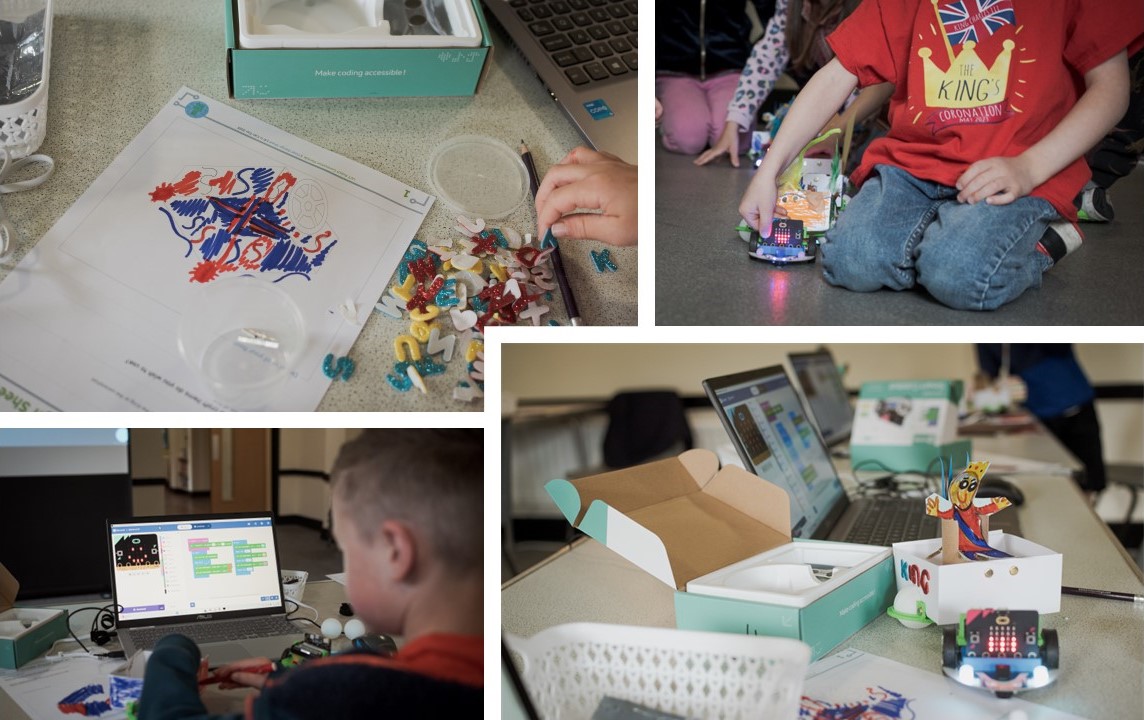
Our first Code and Make workshop of the day was a robot coronation parade in which the children programmed micro:bits to control a CuteBot robot to pull along a parade float; designed and decorated in honour of our new King! They began by using MakeCode to program the LED headlights and used loops to make them change colour during the parade before adding movement.

Code and Make Workshop - Coronation Parade

Digital Carnival Games

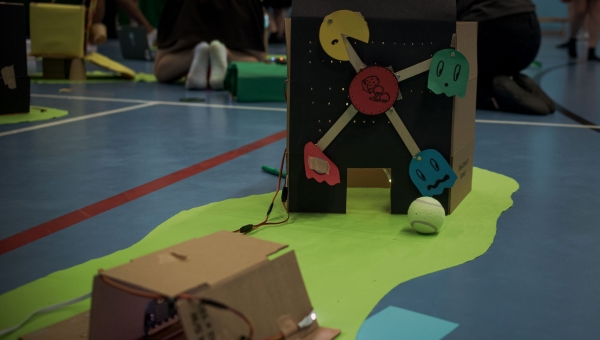
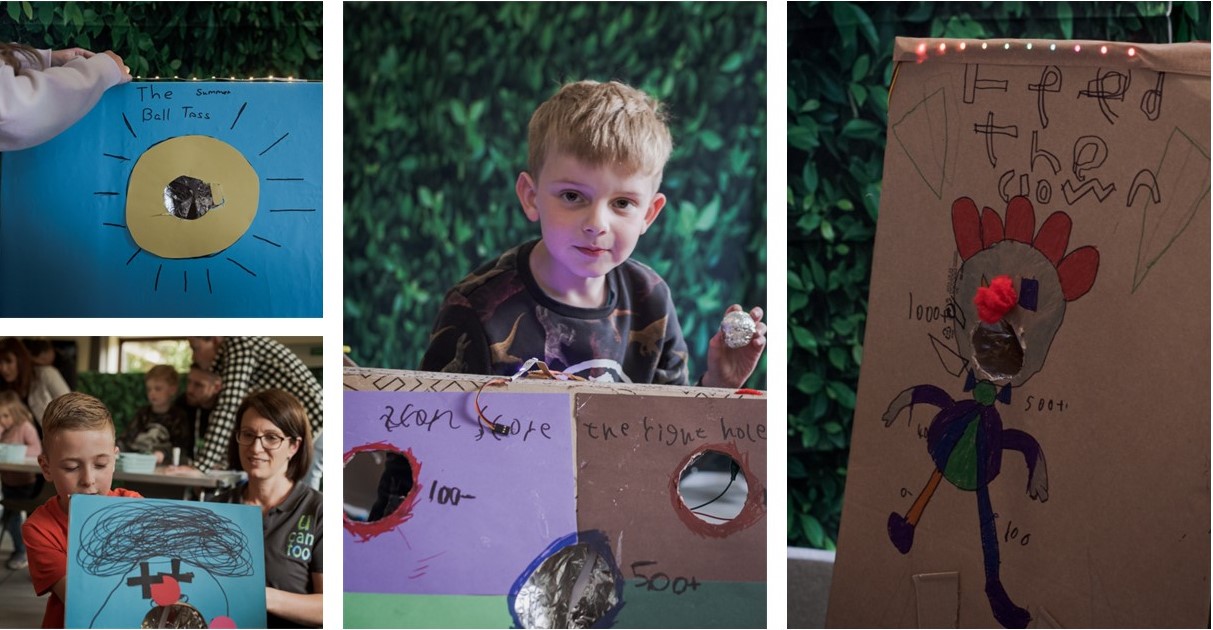
Our second workshop involved making digital carnival games from cardboard and detecting when players win by flashing the attached neopixel LED strips. The children had great fun learning about electronic circuits before we began coding, they then used their foil-covered balls to complete a circuit inside the game by throwing it through the hole. They combined this with the use of selection so their program could ‘decide’ when to make the lights flash. Everyone had lots of fun and some of the children even made some extra pocket money when they took home their creations and charged grown-ups to play! To enable us to easily connect electronic components we connected our micro:bits to a ring:bit breakout board first, which also holds the batteries neatly too.

Code and Make Workshop - Digital Carnival Games

Our next Code and Make workshops are taking place on 25th August. You can find out more here.

If you’re a parent looking to learn more about using  a micro:bit with your child check out the micro:bit website to get started! 

Robot Petting Zoo STEM Workshop

Robot Petting Zoo STEM Workshop

We recently had the pleasure of being invited back to Holmewood House School for two more days of workshops; a Sphero obstacle course and our Robot Petting Zoo. We’ve delivered workshops here in the past and were delighted to be invited back for more, today I’m going to tell you about our Robot Petting Zoo workshop with year 4 children.

What is a Robot Petting Zoo?

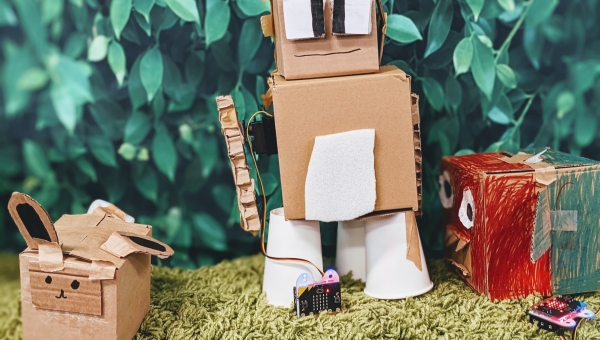
As the name suggests, the Robot Petting Zoo workshop involves children building their own robotic creatures! With this their imaginations really ran wild with a rather eclectic collection, ranging from fire-breathing dragons to piranhas, a ghost and even a flying pig!

In this particular workshop we allowed the children to be flexible in their ideas by choosing their own designs, however, we can easily adapt our workshops to fit a theme or particular learning topic, for example bringing characters from a story to life or portraying a moment in history.

Robot Petting Zoo creations

Starting with Coding

Before the children began building their creatures we gave them a brief introduction to robotics and they investigated how we can use a micro:bit and MakeCode to make things happen! The children enjoyed making an image appear on the micro:bit’s LED display before learning how to program a motor to make things move.

Robot Petting Zoo - coding and building

Designing and Building a Robotic Creature

Once they had got to grips with the coding they designed their creatures on paper first before they began building, they used their coding knowledge to incorporate a motor into their builds to add movement such as wagging tails, shaking heads and even a protruding tongue. 

At the end we put all the creatures on display, after the children had modified their code so the robots reacted to “on loud sound” here’s the result:

The Robot Petting Zoo workshop can be adapted around any theme. We also run similar workshops in the form of bringing the Iron Man to life and our popular Box Bot. Click here to take a look at our range of popular STEM workshops. If you would like to book this workshop in your own school or business, please use our contact page to get in touch

Activated Art Workshop - Kandinsky

Activated Art Workshop - Kandinsky

Last week we had a fabulous time running our Activated Art workshop with 90 year 2 children at Madginford Primary School

What is an Activated Art Workshop?

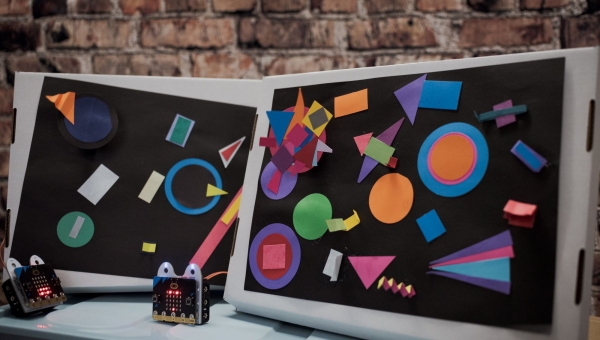
Our Activated Art workshops are usually themed around the artist, Kandinsky, but can be easily adapted to any artist or theme. In this workshop, the children begin by investigating what his art would look like if he had been motivated by movement, then build and code their own moving piece of art.

Kandinsky Introduction

Our recent Activated Art workshop began with an assembly-style introduction in which we talked about who Kandinsky was and what inspired him. The children had been studying Kandinsky recently so already had some amazing knowledge that they were able to share with us! We were so impressed by how much they had remembered, and we even learnt some new facts too!

We showed them our ‘moving art’ example within the assembly, and there was clear excitement about what they could produce.

Building the Artwork

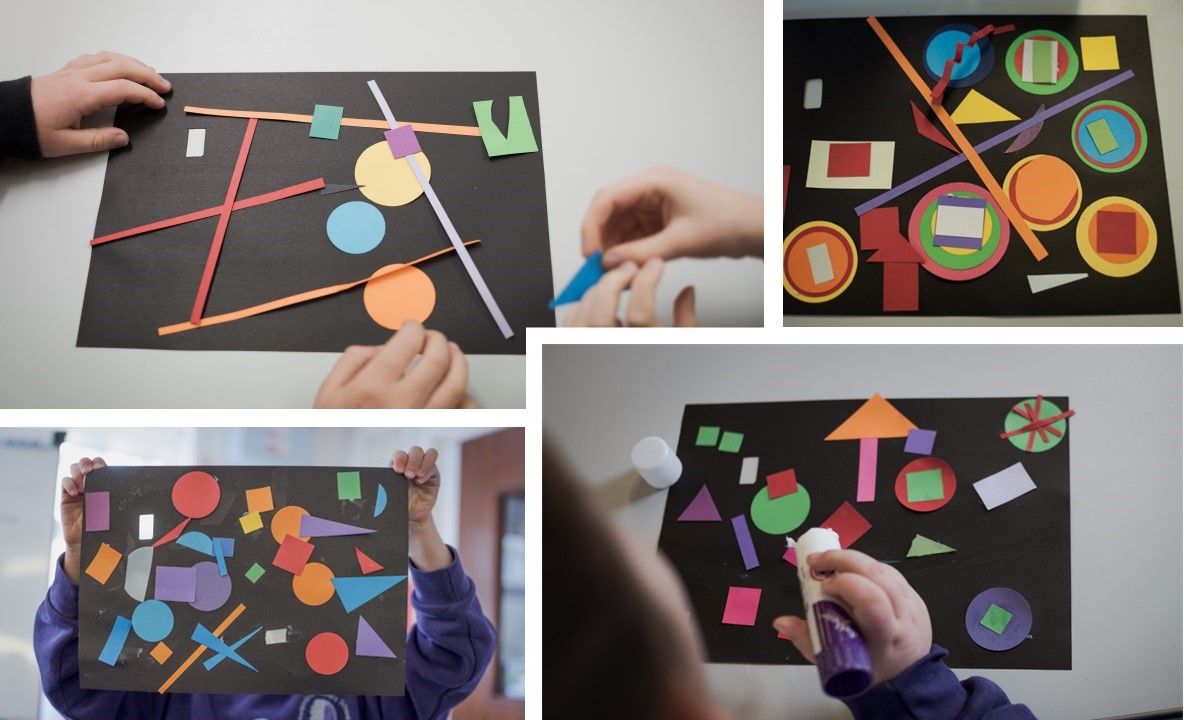
After the assembly children were given break-out time in their classrooms to create the base for their pieces of art ready to add the moving section later on, we provided all of the materials needed so it was nice and easy for them to get started with their teachers. We were so impressed with their artistic skills; here’s a snapshot of some of their work, as you can see they really stuck to the theme nicely: 

making_artwork.jpg

Coding and Moving

Later in the day, each class took part in a coding workshop to learn more about the micro:bit and how they could use their coding skills to make a servo motor spin. They were able to confidently connect everything together, working in pairs, and build their code. It was such an amazing moment when lots of the children hit the ‘download’ button at the same time, and we heard the eruptions of “WOW!” echoing around the room when they could see their artwork moving.

It was a “wow” moment for me too as the newest member of the team as it was the first time I had seen this workshop in action. It was so rewarding to see their faces light up when everything came together for the showcase at the end! 

Connecting and coding with micro:bit

Activated Art Showcase

At the end of the day, we put all the artwork for each class on display so the children could see it all working and look at each other’s masterpieces! 

Here’s a video that gives an overview of the day:

If you would like to book this workshop in your own school or business, please use our contact page to get in touch!

micro:bit Rotating Light Project for Manassa of Innovation

micro:bit Rotating Light Project for Manassa of Innovation

Child with Rotating Light

A few months ago, we were asked to develop a custom rotating light workshop for Manassa of Innovation who are based in Jeddah in Saudi Arabia. They provide children and their families with access to STEM workshops, and we have worked with them on projects previously with our founder, Su, even flying out to Saudi Arabia last year to deliver workshops in person. We'll share more about that later!

This time we were designing a new workshop to be delivered by the educators in Saudi Arabia so we had to ensure we built a prototype first here in the UK and designed the workshop content and resources carefully so they could be delivered without our input on the day.
A micro:bit Rotating Light

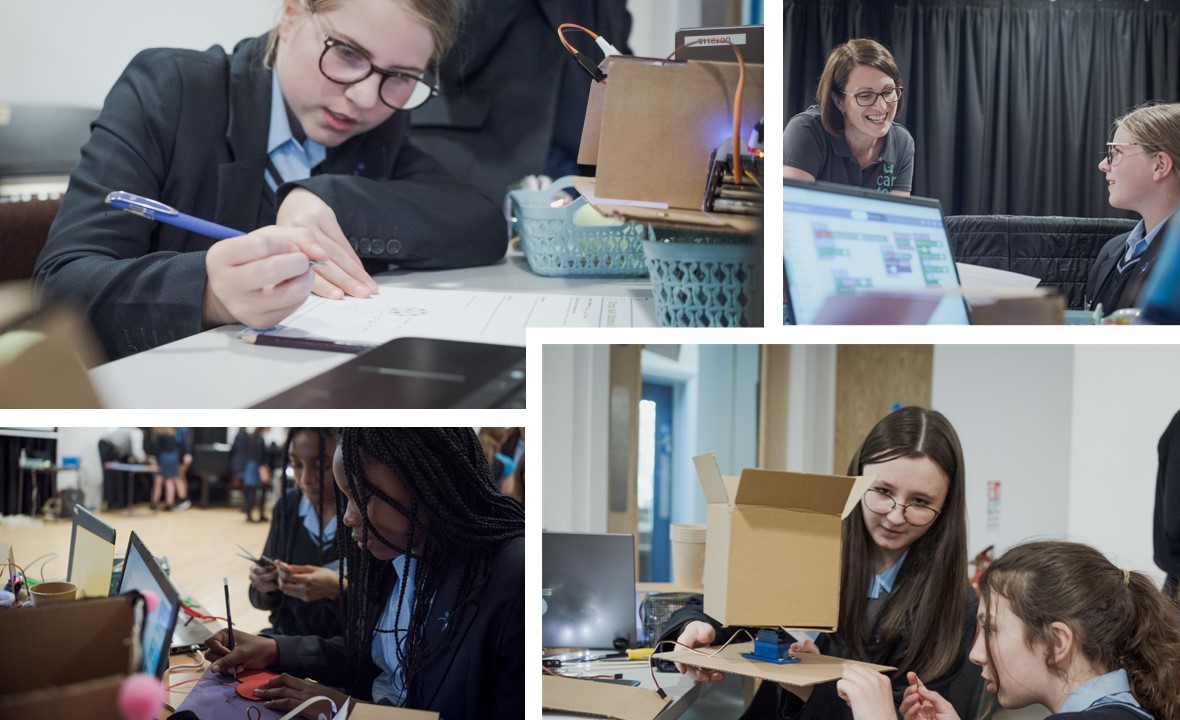
The requirement was to build and program a rotating light that would project coloured patterns as part of their local Noor Riyadh light festival. In this workshop, the children would learn how to control electronic components using code as well as putting their engineering skills to the test by building a structure to support the components while still allowing for movement. In our planning, we needed to ensure that we used resources that would be easy to get hold of so opted for upcycling coffee cups and yoghurt pots to form the main structural components. Two neopixel strips, a servo and a micro:bit later plus the addition of various cardboard templates for the top, we had our rotating light! Once we had our prototype ready we were able to refine the instructions into a clear and easy to follow video, devise a lesson plan and develop the teacher presentation!

The Results

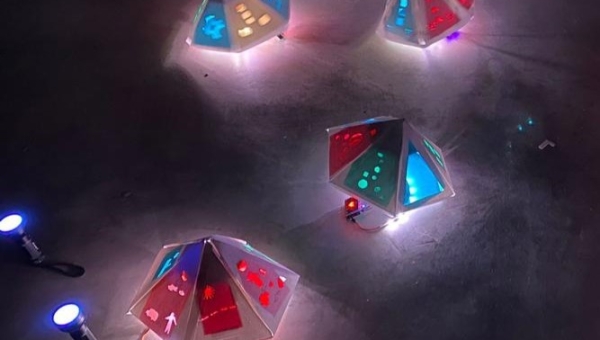
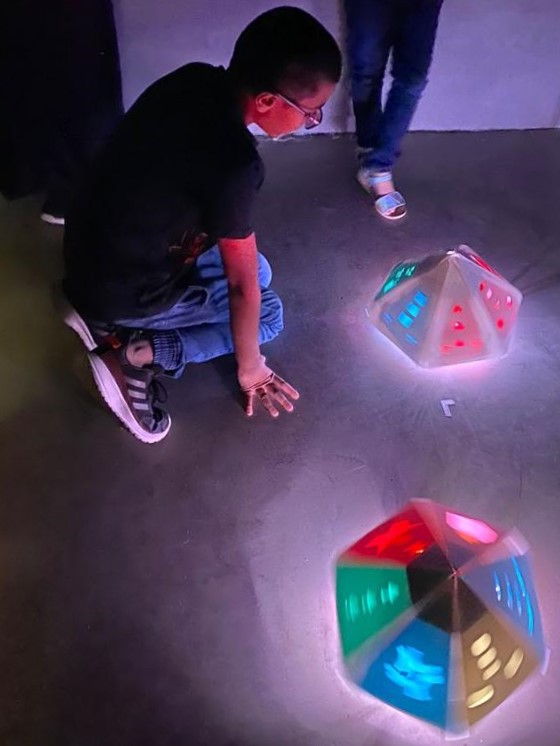
The educator in Saudi Arabia was really pleased with our resources and has since used them to run the workshop twice with different groups of children. The team in Saudi Arabia very kindly shared some pictures and videos of the final results, with each rotating light being displayed in its own box:


Drone Assault Course Workshop using micro:bits

Drone Assault Course Workshop using micro:bits

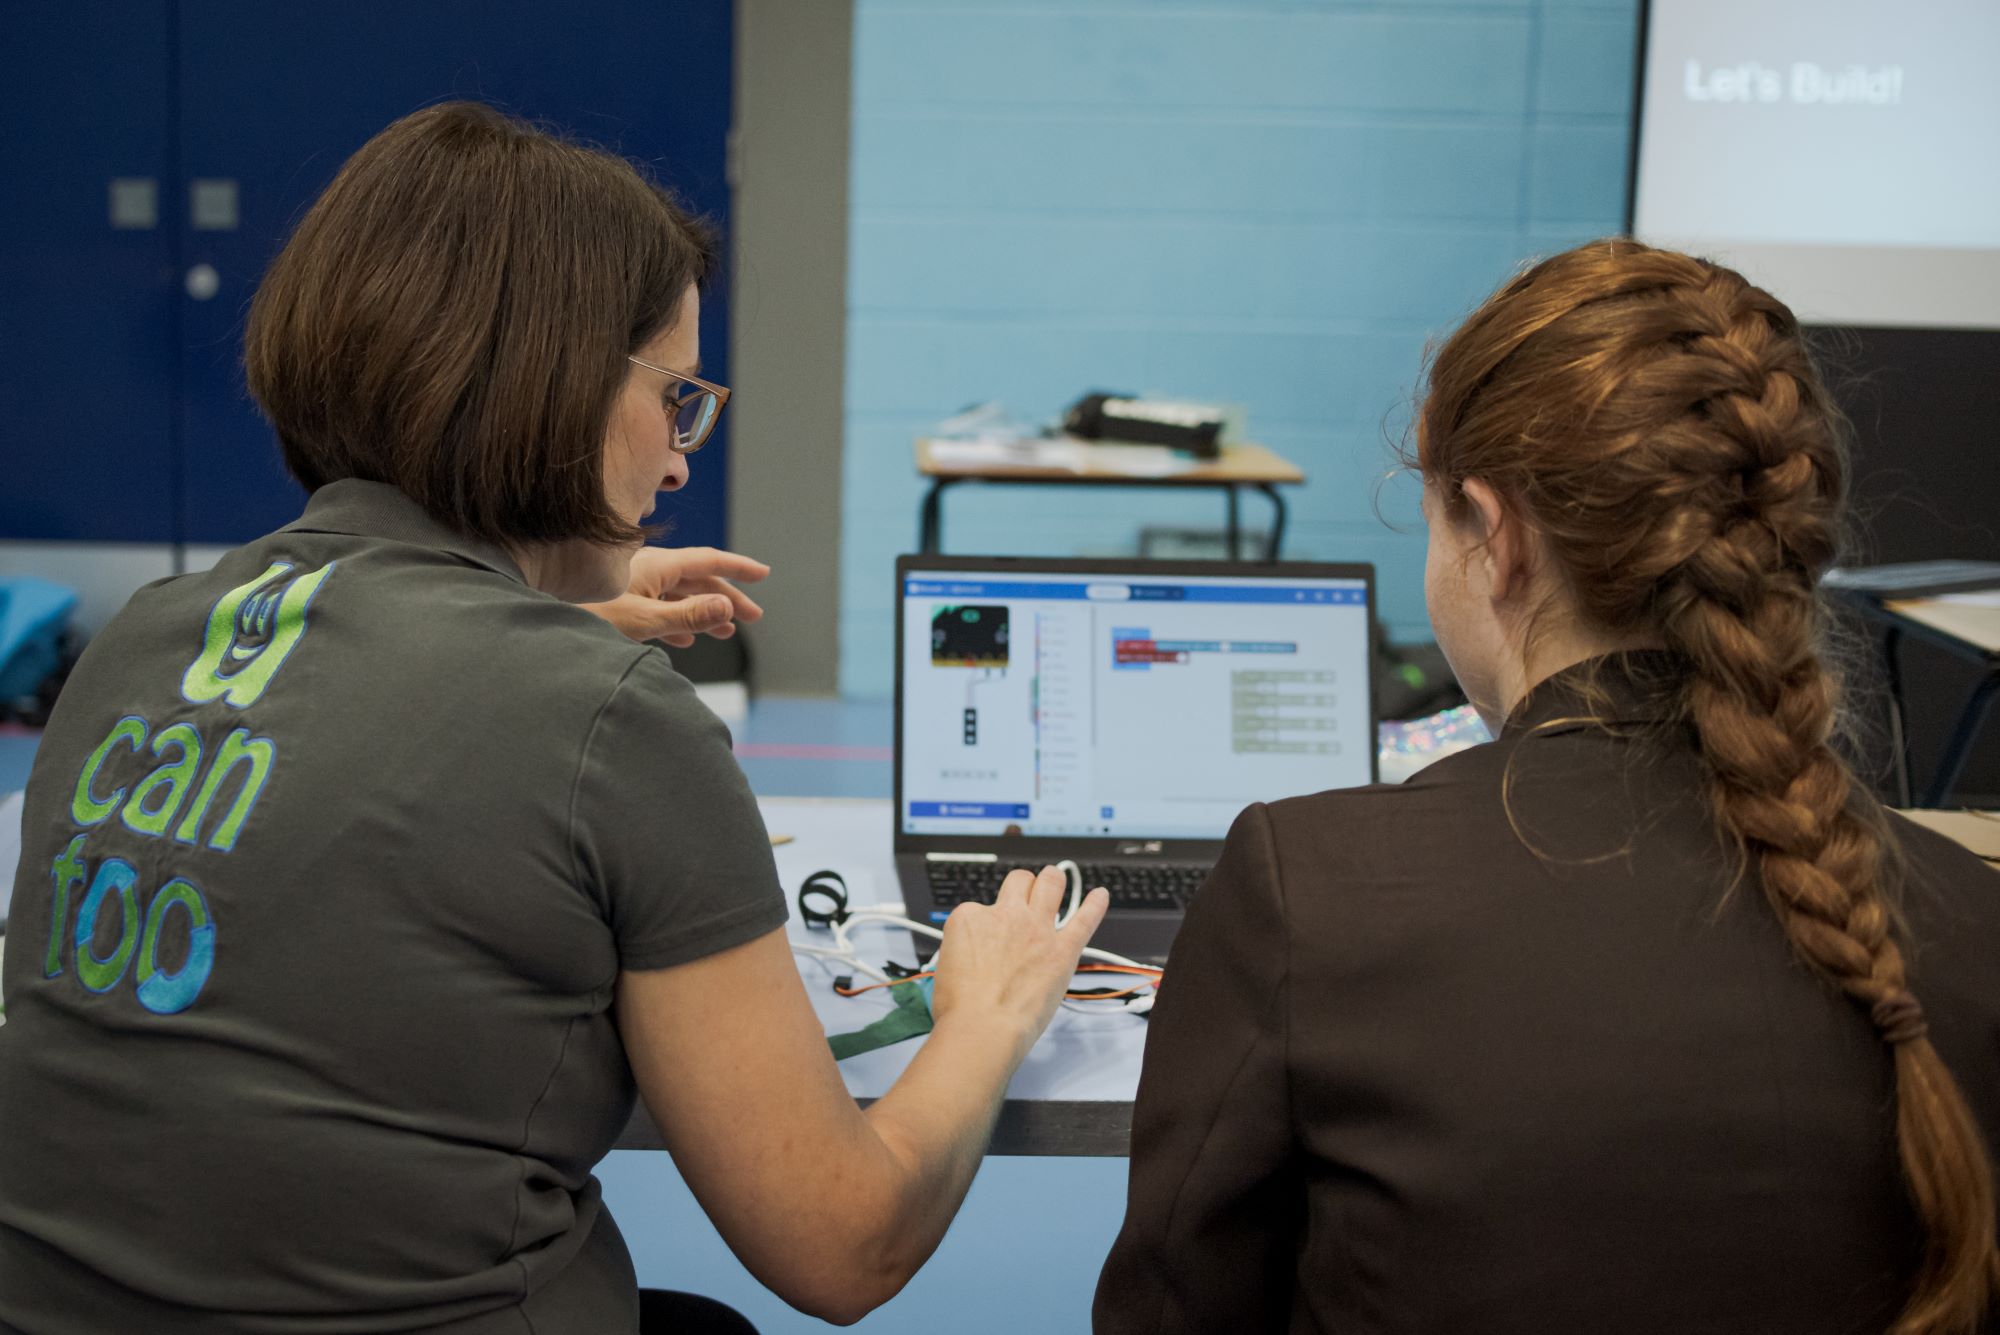
drone workshop 42 - Drone Assault Course Workshop using microbits. Su explaining a programming solution to a year 11 studentBlog Post by Nicki - Computing Curriculum Specialist at U Can Too
We recently had the pleasure of delivering our Drone Assault Course workshop using the micro:bit at Maidstone Girls Grammar School. The participants were an enthusiastic group of 33 GCSE Computing students who took over the sports hall for a day bursting with creativity, inspiration, coding and excitement!

What is a Drone Assault Course workshop?

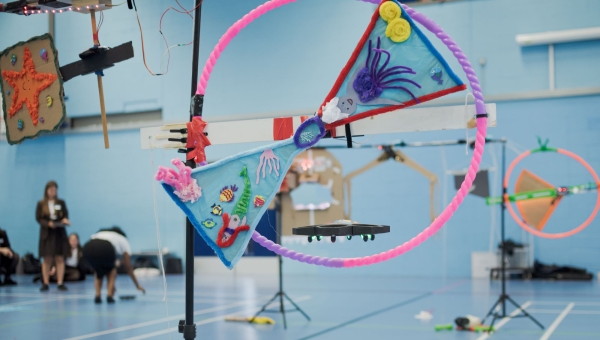
You're probably pondering the question: What is a Drone Assault Course workshop? This is an engaging full day workshop aimed at secondary school children (years 7 to 11) where the learners participate in Drone Flying School and learn how to apply physical computing by using a micro:bit to build a range of interactive obstacles. Learners work in teams to build their obstacles and then earn points by successfully flying the drone through each one. This workshop brings together a huge range of STEAM (Science, Technology, Engineering, Art and Maths) skills as learners not only use a pocket-sized computer called a micro:bit to control motors, sensors and LEDs but they also need to overcome engineering challenges to ensure their structures are strong and functional. An artistic flare from our recent learners really brought the obstacles to life, with many choosing a dark, twisted theme!

Getting Started with the micro:bits

Before building their obstacles, learners are given a crash-course in using the micro:bit to control motors, respond to inputs and light an array of LEDs; they are then introduced to their challenge, addressing ways in which the motors can be combined with various mechanisms like a winch and touch sensor.

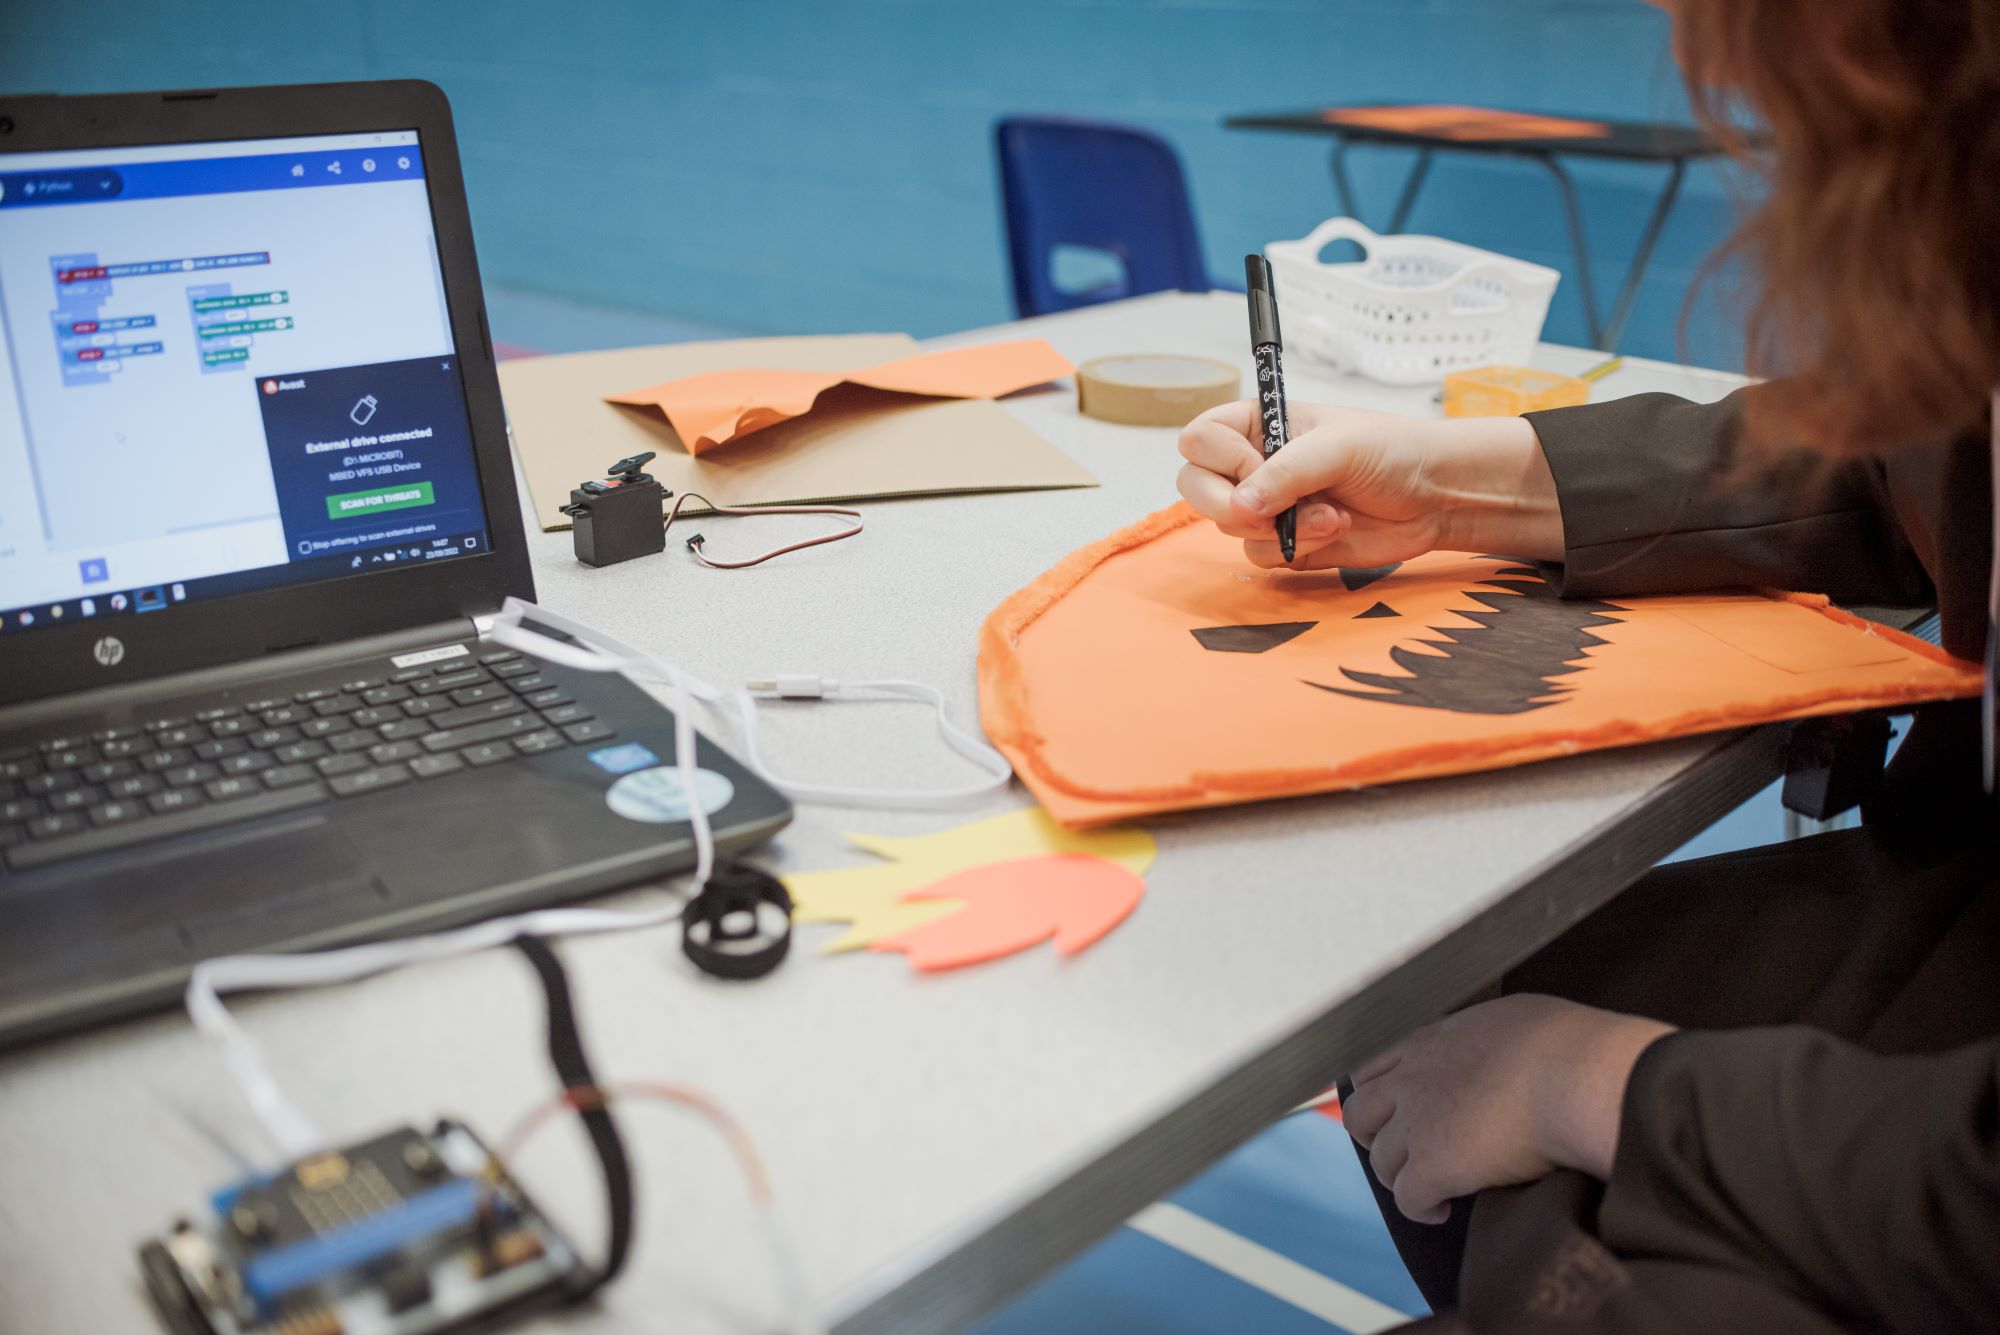
The learners work in teams, collaboratively choosing their own theme for their drone assault course and assigning roles, the teams were broken down further drone workshop 60 - Drone Assault Course Workshop using microbits - a year 11 student making the creative part of their build next to their code and electronicswith learners working in pairs on each individual obstacle. From here they planned their mechanism on paper before using the available resources to construct their final product. Once each obstacle was complete the learners had their next engineering challenge of ensuring they were securely attached to the stands in order for the drone to fly through. This proved quite a challenge for some of the obstacles as the teams had to consider various support methods due to the weight of the items, and additional thought was required, particularly for some, which began to spin around when mounted. After securing the obstacles groups were able to tweak the programming for each mechanism to ensure it worked as intended.
The teams worked exceptionally hard throughout the day to ensure they were successful, with nearly all students actively choosing to cut their lunch-breaks short to continue working on the aesthetics of their obstacle courses in readiness for the big event!

As a new employee, this was the first U Can Too workshop I have attended, as I am the company's newest recruit, and what I found so interesting is how artwork and creativity merged so beautifully with both computing and engineering. The day had a whole cross-curricular feel to it, with so much incidental learning happening in addition to the main objectives. As the main focus on this occasion was Computing, the girls were allowed to choose their own themes, but this workshop could also be easily adapted if a school wished to bring other subjects in too, such as a story-telling aspect for English, a point in time for History or a place for Geography.

The end result was fantastic; the energy and anticipation from the year 11 students was clear to see, they had invested so much effort into their creations and were keen to see how they held up to the drones and curious to see how many points their team would accrue as they carefully navigated each obstacle. The event even attracted attention from other members of staff and sixth formers as they were passing by who chose to join in as spectators to cheer the groups on.

Flying the Drones

The girls had each spent a short session in Drone Flight School earlier in the day, where they learned how to safely fly the drones using an iPad app, so they were able to take turns to navigate their assault course in a relay-style race to complete as many as possible. Points were also awarded for creativity and innovation, and additional points were allocated to the more challenging obstacles; I was amazed to see the drone carefully flying through a ghost's mouth, not once but twice, as I had been convinced they had made the mouth too small!

Here's a video showing our highlights from the day:

If you would like to book this workshop in your own school or business, please use our contact page.

BETT

BETT


Follow us on Social Media